We offer thousands of of files from so it is important for us to keep them organized. Here is how our system works:
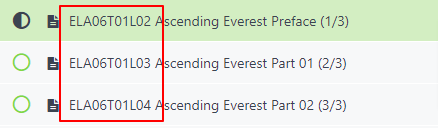
A file that is named ELA06T04L07SP Filename Here breaks down like this:
The first section (ELA) denotes the course (e.g.ELA = English Language Arts).
The Second section (06) denotes the course grade or level.
The third section (T04) denotes the Topic (aka unit, module).
The fourth section (L07) denotes the lesson number
The fifth section denotes the type of file:
LP – Lesson Plan
SP – Student study & Practice
A – Assessment
Displaying Presentations
For your convenience, the presentations have been placed directly on the page for quick access and provide a variety of display options.
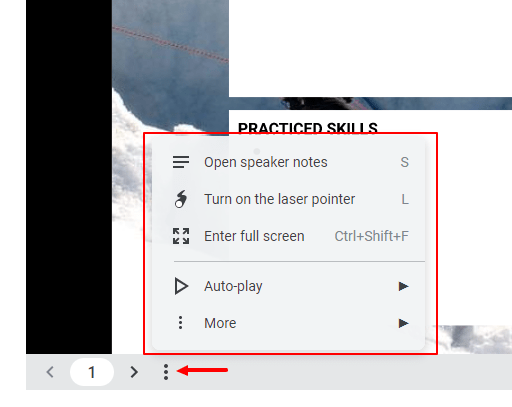
To access the display options, navigate to the bottom of the presentation and clock on the “Kebab” Options Menu (three vertical dots).
From there, your options are to:
1. Open speaker notes (where we have placed answers and some optional direction for guiding the lesson).
2. Turn on the integrated laser pointer (turns your mouse pointer into a bright red dot, making it easier to draw attention to specific parts of the presentation page)
3. Enter Full-Screen Presentation mode – maximize your screen space for the entire classroom to best see the presentation.
4. Auto play, changing slides from every 1 second to every 60 seconds & looping – playing the presentation on a continuous loop until you manually turn it off.
Accessing Lesson Plans and Student Study Materials
Accessing lesson materials is quite simple, and will quickly become second nature as you get used to it.
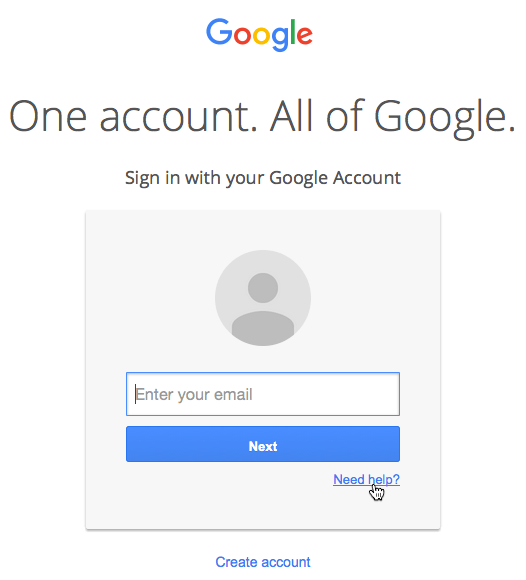
1. You must be signed into your preferred Google account. (Why)
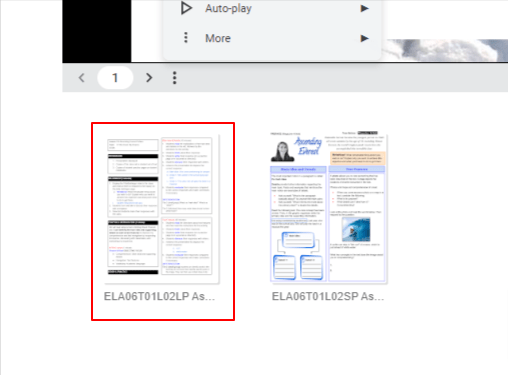
2. Click on the image icon of the document you would like to access. The file will open in a new browser tab.
3. IMPORTANT: DO NOT “Request Edit Access”
Instead, navigate to: File > Make a copy to create an editable Google Workspace format (OR) Download to create and download a Microsoft Office or other format.
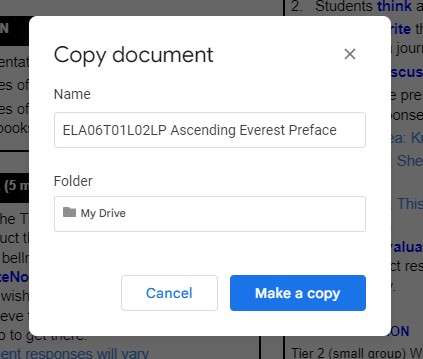
4A. If you chose to Make a copy, a “Copy document” window will pop up and you will be prompted to edit the name of the file, which starts with “Copy of” and then the name the file was given by our team. You can choose to simply delete “Copy of,” and keep the name or rename it altogether.
Additionally, take note of what folder you placed the file in. If you do not make any changes, it will automatically be placed in your primary Google Drive folder.
When finished with these two brief tasks, click the blue “Make a copy” button.
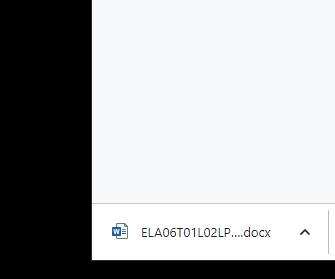
4B. If you chose to Download as a Microsoft Office (or other) file, the next steps will depend on how your computer’s operating system has been set up to download files. It may either:
1) Prompt you to choose a location to download the file, such as “My Documents” or the Desktop, or
2) automatically download the file to a predetermined location such as the “Downloads” or “My Documents” folder or the Desktop.
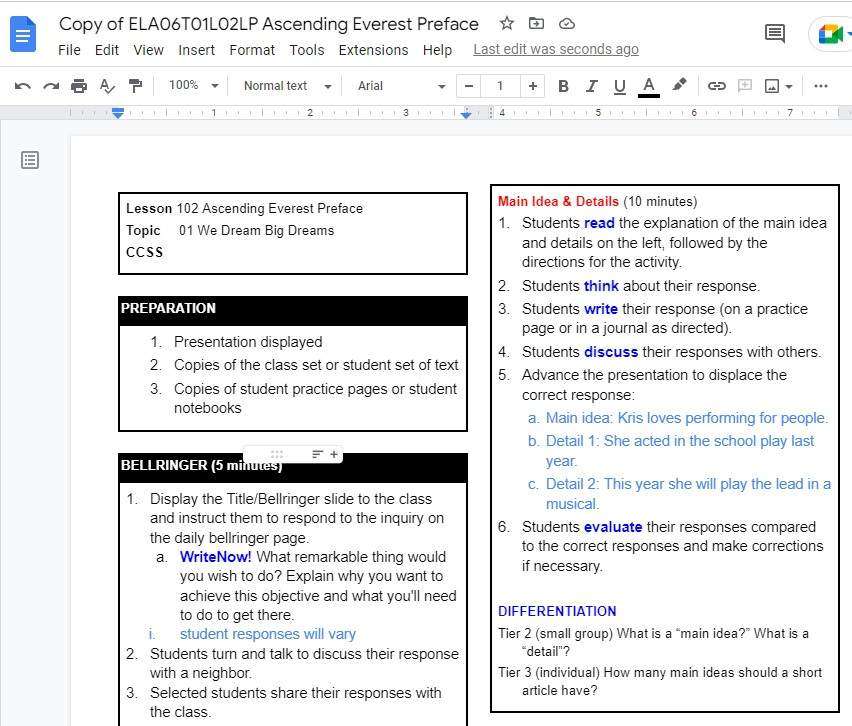
5. Once you have saved your copy of the file, you can navigate to the file location and open it.
From here, you can edit or print as needed.
Why we chose Google Workspace
When creating these files, we looked at options in Microsoft Office, Google Workspace, Apple Suite, PDFs or simply placing information on the webpage.
We ultimately landed on choosing Google workspace due to the free cost, ease of use and flexibility both for creation and sharing.