Let’s say you create a newsletter in Microsoft Word and share it as a .docx file, which is the default file format for Word documents. Unless everyone has Microsoft Word installed on their computers, there’s no guarantee that they would be able to open and view the newsletter. And because Word documents are meant to be edited, there’s a chance that some of the formatting and text in your document may be shifted around.
By contrast, PDF files are primarily meant for viewing, not editing. One reason they’re so popular is that PDFs can preserve document formatting, which makes them more shareable and helps them to look the same on any device. Sharing the newsletter as a PDF file would help ensure everyone is able to view it as you intended.
Opening and viewing a PDF file is pretty simple. Most modern web browsers will open PDF files directly in your browser window instead of downloading them to your computer. If your browser can’t do this, it should prompt you to download the file instead. Try clicking this link to see how it works on your computer.
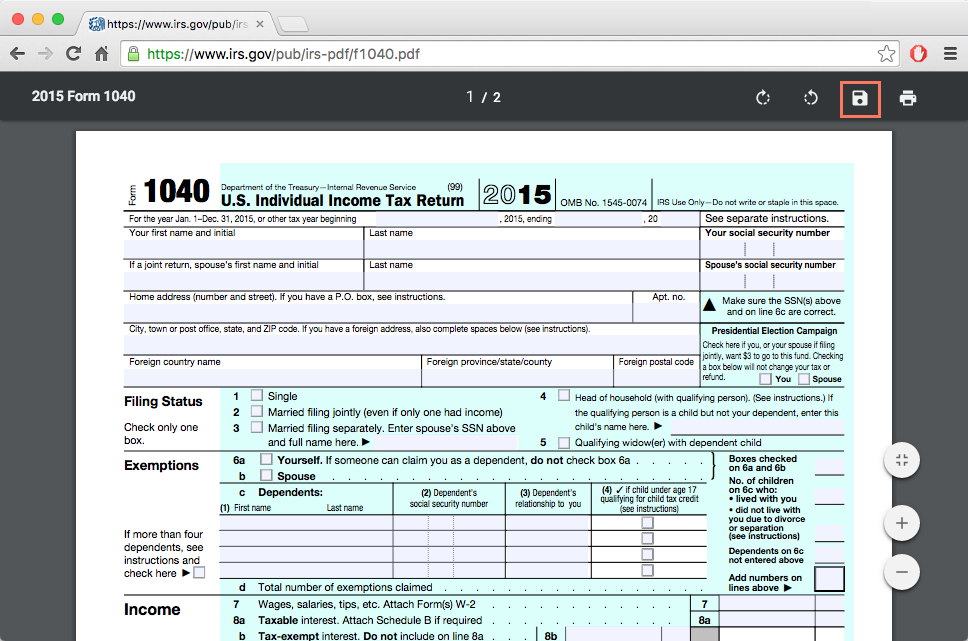
If you need to view a PDF file just once, it’s usually easiest to open it in your web browser. If you need to access the PDF later, you’ll want to save a copy to your computer. This process will vary depending on your web browser, but in the example below the Save PDF button can be found near the upper-right corner.
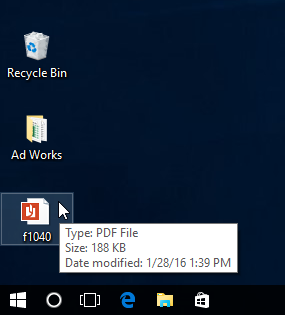
If the PDF file is alreadyy on your computer, you can simply double-click to open it with the default PDF application.
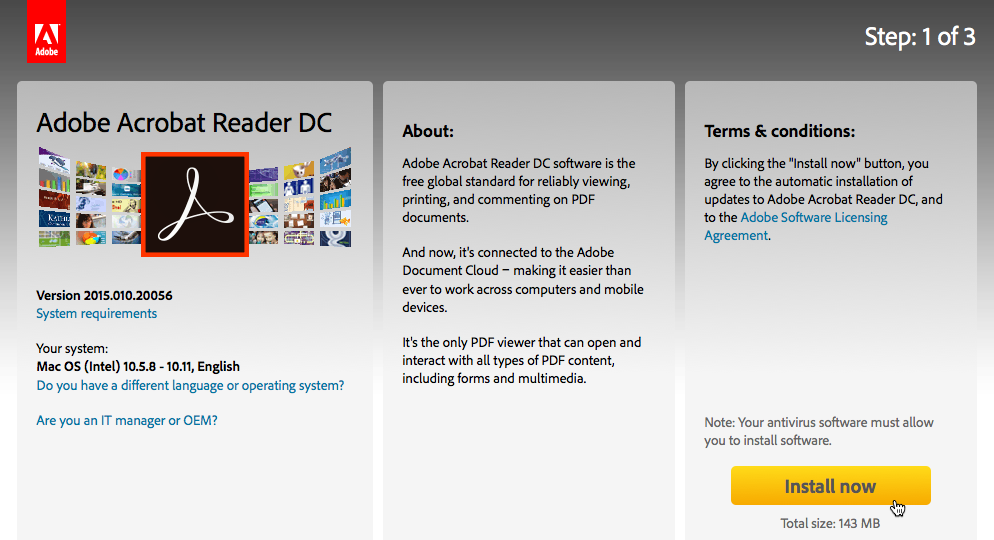
If your computer uses Windows 7 or earlier, you may need to download a free PDF viewer (such as Adobe Reader) before you can view PDF files.
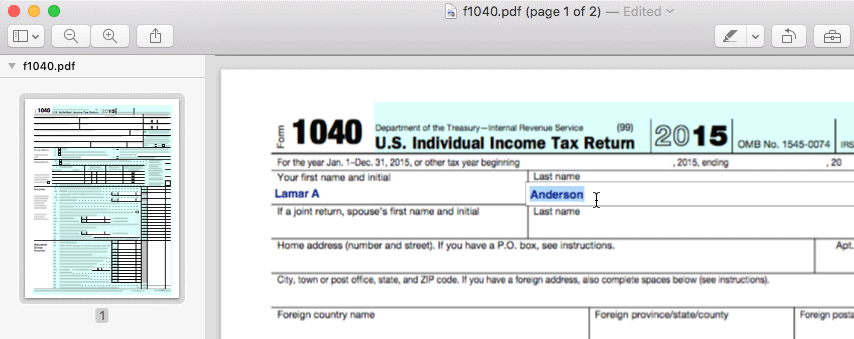
As we mentioned earlier, PDFs are primarily meant for viewing, not editing. However, there may be times when you encounter a PDF that allows you to enter certain information, like name and address. These PDFs use a special feature called form fields, which allow you to type new information into the document and save your changes. For example, this PDF contains several form fields for entering your name, address, and other information.
This feature is not supported in all web browsers, so you may need to download the PDF before you can use form fields to add your information.
There may also be times when you want to make small edits to PDF files, like adding a comment or highlighting text. To learn more about editing PDF files, check out our lesson on how to edit and merge PDFs.
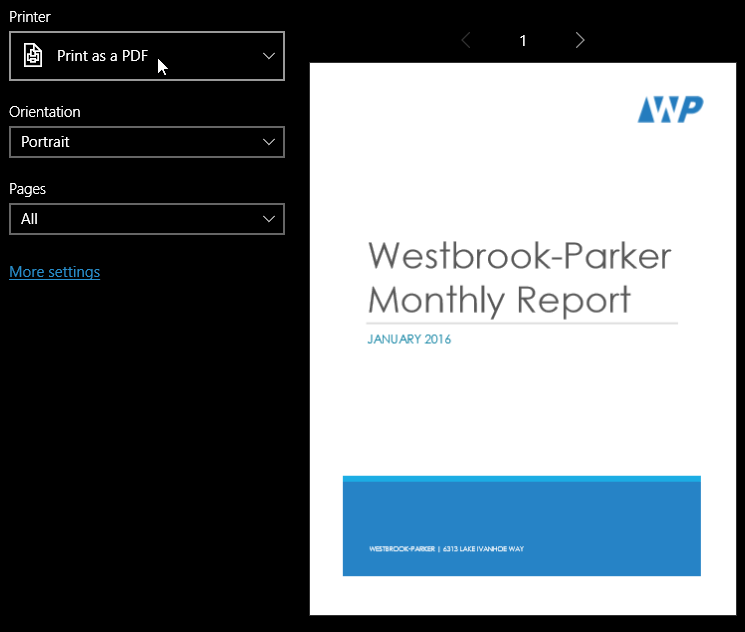
There are several ways to create PDF files, but the method will largely depend on the device you’re using. For example, if you’re using Windows 10 you can go to the Print dialog box, then select PDF from the list of printers at the top. This allows you to create a PDF of anything you would normally be able to print, including documents, emails, and webpages.
If you’re on a Mac, the Print dialog box has a PDF menu that allows you to save a file as a PDF.
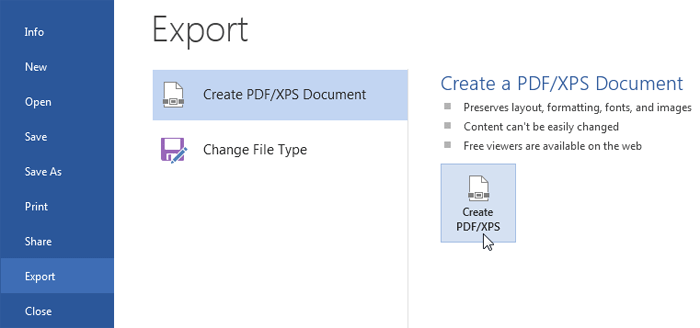
If your computer has Windows 8 or earlier, you have a few options. The simplest method is to use software that supports a PDF export, such as Microsoft Office or Google Chrome.
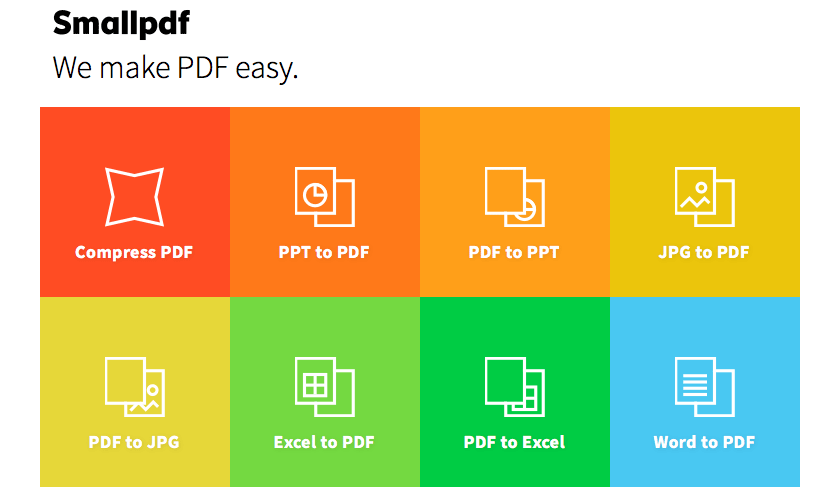
Another option is to use a PDF converter like Smallpdf, which is a free app that runs in your web browser. Smallpdf can convert various file types—such as Microsoft Office documents—into a PDF format.
Adobe PDF documents are one of the most commonly used file types today. If you’ve ever downloaded a printable form or document from the Web, such as an IRS tax form, there’s a good chance it was a PDF file. You may already have Adobe Reader on your computer for viewing PDFs. One reason they’re so popular is that they can help to preserve document formatting, which means PDFs look exactly the same on any device. And unlike other file types, such as Microsoft Word documents, most PDFs are intended for viewing, not editing.
However, there may be times when you need to make small edits to PDF files, such as adding a comment or highlighting text. Or perhaps you need to combine separate PDFs into a single file. For example, you might want to combine your cover letter and resume into a single PDF to make sure they stay together. Adobe Reader doesn’t have any editing capabilities, and other PDF editing software may require a paid subscription.
If you can’t afford PDF editing software, or if you just don’t need all of the features it offers, there are many free online tools you can use for simple PDF editing. However, many of these tools also display misleading advertisements or ask you to sign up or pay for services you don’t really need. We’ve done our best to weed though these sites to bring you a short list of the most reliable and trustworthy tools.
If you want to make simple annotations to a PDF, such as highlighting text or adding comments, DocHub is one of our favorite tools. It also allows you to add text to documents, which means you can use it to fill out PDF forms. However, you cannot edit or remove any existing text from the file. Do note that you will have to create an account to use these features.
If you need to edit the actual text of a PDF file, we recommend Microsoft’s Office Online suite. Office Online is a free, simplified version of Microsoft Office that you can access from any web browser. One of its best features is the option to convert a PDF to a Word document.

You can then make changes to the actual text of the PDF, add and delete entire pages, and more. When you’re done, you can download the file—Office Online can convert it back to a PDF if you prefer. Note that the formatting of the PDF may not always be preserved if you’re converting a long or complex document. In our experience, however, we’ve found this tool to be the most reliable way to actually edit the text of a PDF file online.
SmallPDF is really powerful tool. For example, you can upload multiple PDF files and then download a combined version as a single PDF file. You can also break up a larger PDF file into multiple documents, compress to make your PDF files smaller, and even convert a PDF to a Microsoft Word document (or vice versa). There are limitations for how many documents you can upload and after the maximum is reached, you may be prompted to sign up for a paid subscription plan.

A zip file is a way of grouping, or archiving, multiple files so they act like one file. For example, let’s say you want to email a folder of Word documents to someone. You could attach each file individually, but it would take a long time—especially if there are a lot of documents. A better solution would be to put all of the files into a zip file, and then attach the zip file to your email.

Another advantage of zip files is that they are compressed, which means the total file size is smaller. If you’re emailing a zip file to someone or posting it to the Web, it takes less time to upload—and your recipients will also be able to download it more quickly.
Some file formats, like MP3s and JPEG images, are already compressed. You can still zip these types of files, but the file size may not get much smaller.
Whether you’re using Windows or macOS, you don’t need additional software to create and open zip files. That’s because the basic zip file features are built into the operating system.
Below are the steps to create a zip file in Windows, and a zip file in macOS. Additionally, we will go over how to create a password for a zip file, as well as how to open them.
Select the files you want to add to the zip file.

Right-click one of the files. A menu will appear.

In the menu, click Send to and select Compressed (zipped) folder.

A zip file will appear. If you want, you can type a new name for the zip file.

In Windows, once you’ve created a zip file you can then add more files to it by dragging them onto the zip file’s icon.

Select the files you want to add to the zip file.

Right-click one of the files. If right-clicking is not enabled, you can hold the Control key and then click. A menu will appear.

In the menu, click Compress (the number will vary depending on how many files you have selected).

A zip file will appear. By default, the file name will be Archive.zip.

If you want, you can type a new name for the zip file.

In macOS, once you’ve created a zip file you cannot add more files to it. If you need to add files, you will need to create a new zip file that contains all of the files you want.
Some people prefer to use zip file programs such as 7-Zip, PeaZip, and StuffIt. These programs have additional features, like password protection. If you add a password to your zip file, it’s important to tell recipients what the password is so they can open it.

Windows treats zip files just like folders. You can open a zip file, move files in and out of it, and open individual files just like you would if they were in a folder.
Double-click the zip file.

The zip file will open. You can now double-click any file to open it.

Because Windows makes it easy to work with zip files, there’s generally no need to unzip them. However, if you would prefer to unzip them you can simply right-click the zip file’s icon and select Extract All.

Opening a zip file in macOS is slightly different from Windows. Instead of opening the zip file directly, it will unzip the files and place them in a new folder. You can then open the folder to access individual files.
Double-click the zip file.

A folder will be created with the same name as the zip file. You can double-click the folder to open it.

You can now double-click any file to open it.
