We will study so I can to by .
While you may spend a lot of time browsing the Web, you can also use the Internet to download files to your computer. From email attachments to photos, music, movies, applications, and more, you’ve probably downloaded lots of different files from the web.
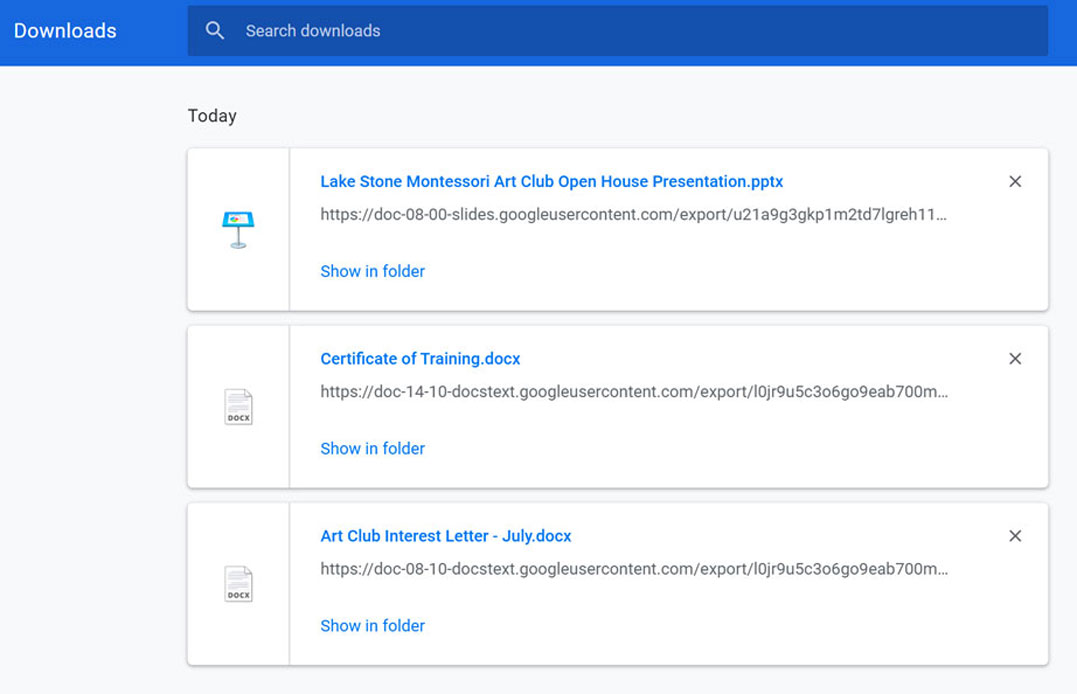
Sometimes, however, it can be difficult to locate those files after downloading them. In this lesson, you’ll learn how to find your downloads easily on both Windows and macOS computers.
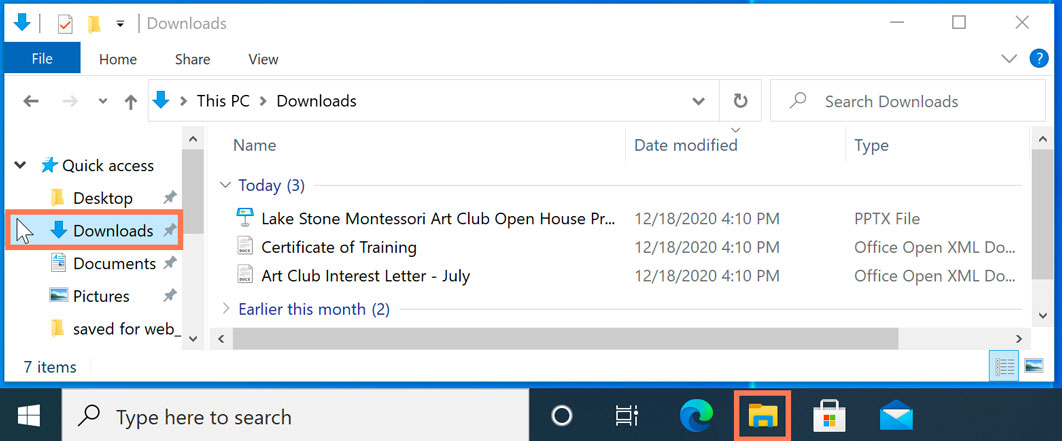
By default, most computers will save downloaded files in a specific folder, known as the Downloads folder. If you’re having trouble finding a downloaded file, this is the first place you should look…
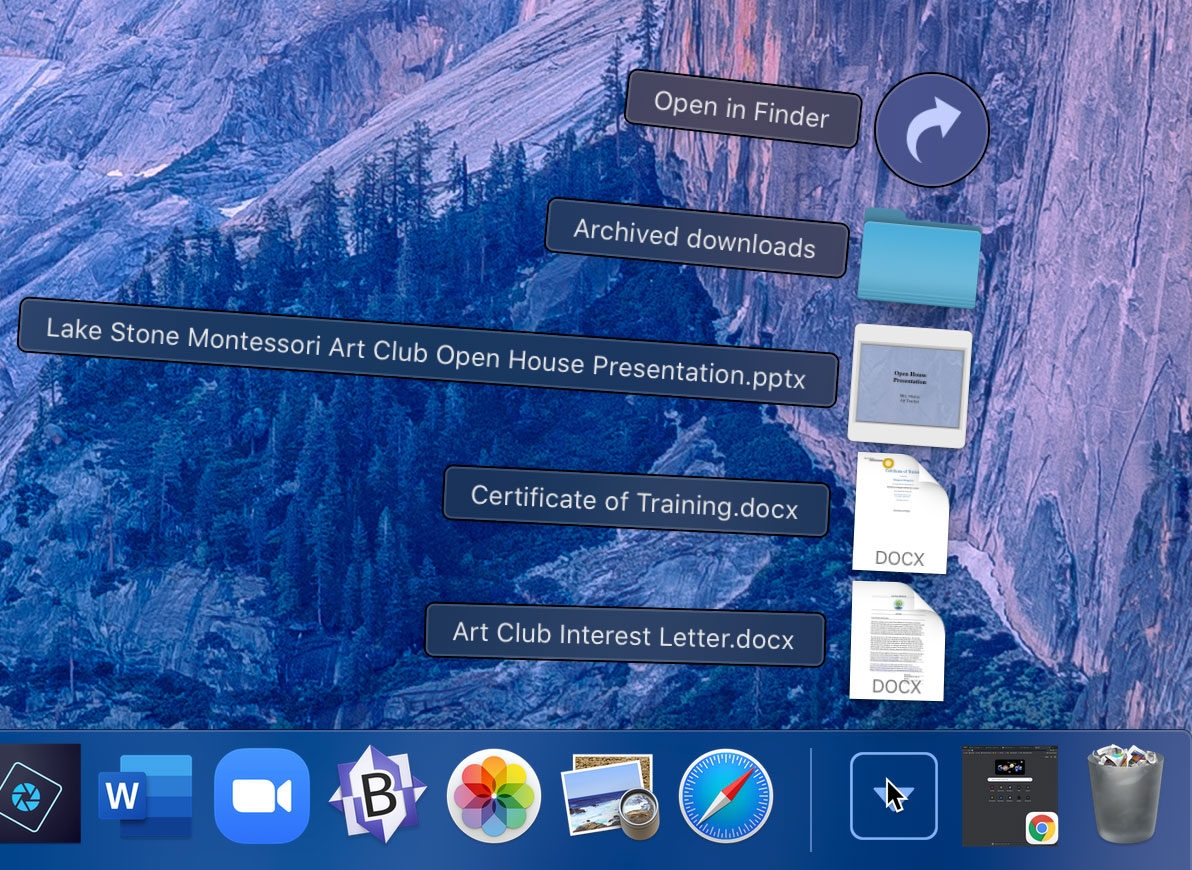
If you don’t see the Downloads folder on the Dock, you can use Spotlight to search for it. Simply click the Spotlight icon in the top-right corner of the screen, then type Downloads in the search box.

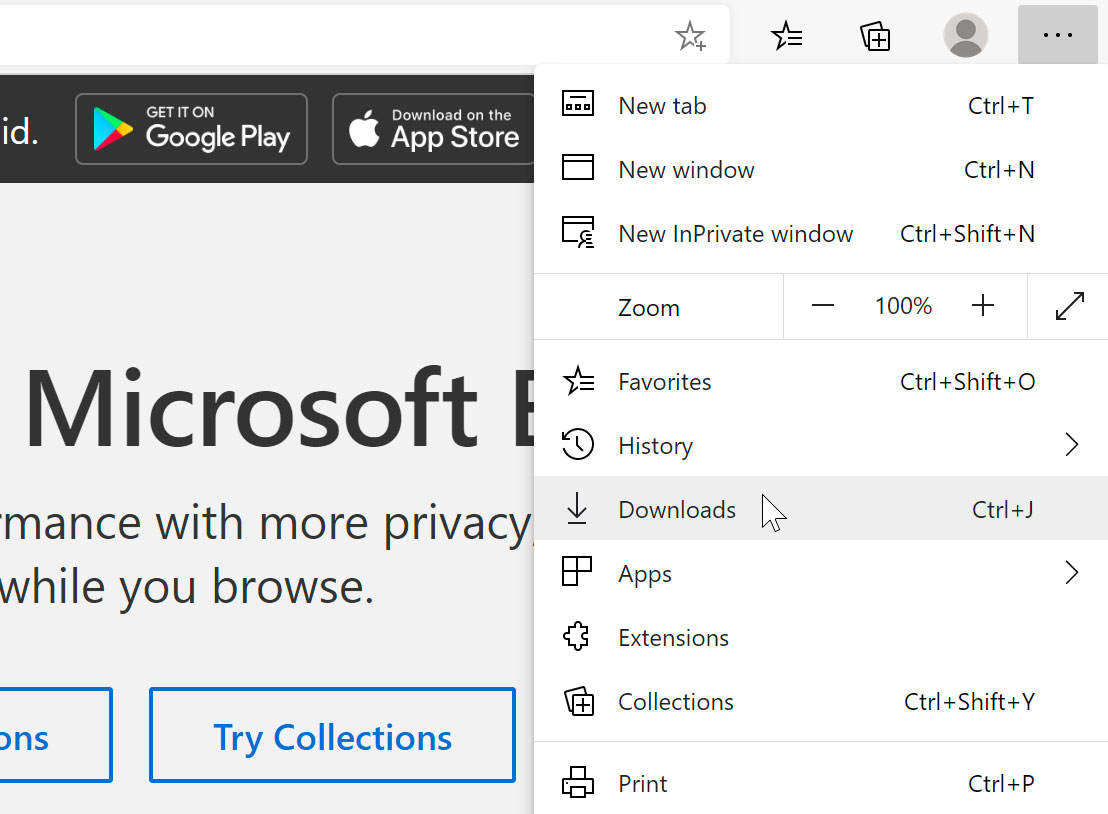
You can also view downloads directly from your web browser. This is especially helpful for finding files you’ve downloaded recently, but it may not display every file in your Downloads folder.
We’ll use Microsoft Edge in the example below, but other web browsers will have similar options for viewing recently downloaded files.
Sometimes you may not be able to find the file you need in the Downloads folder. If you believe the file is still on your computer, you can always search for the file instead…
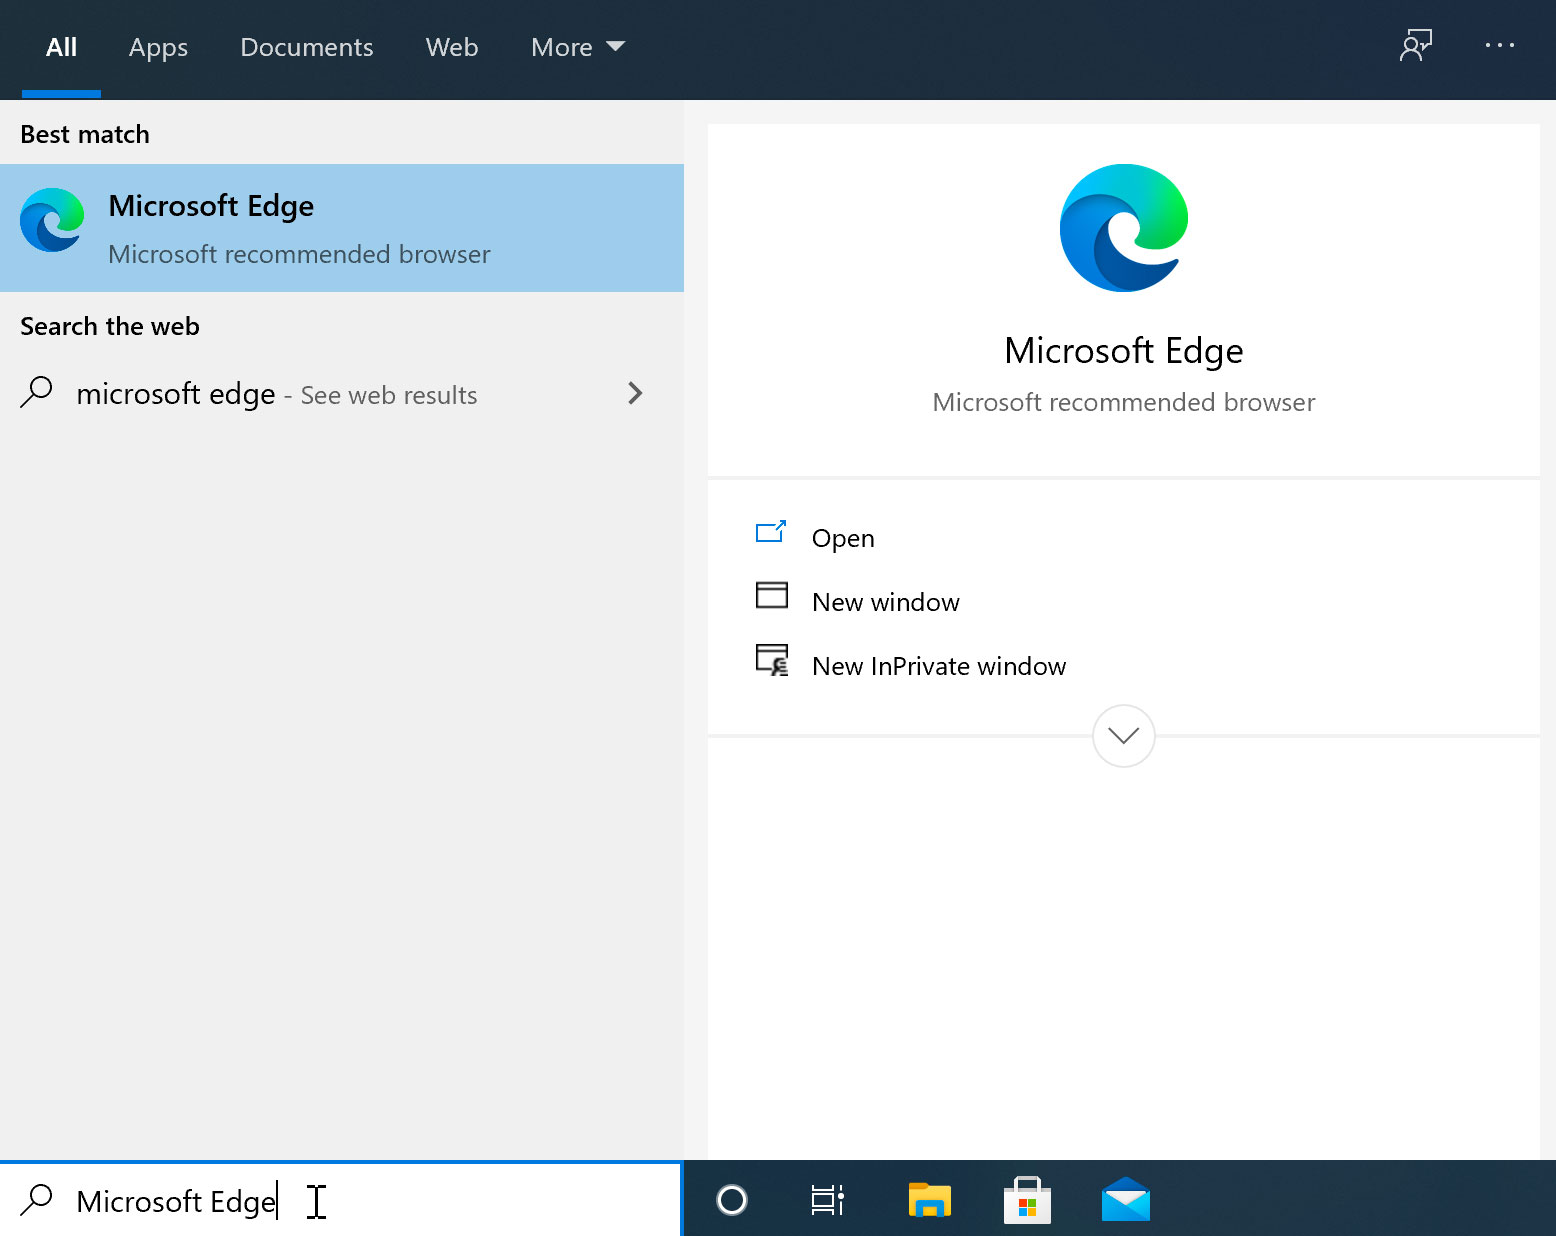
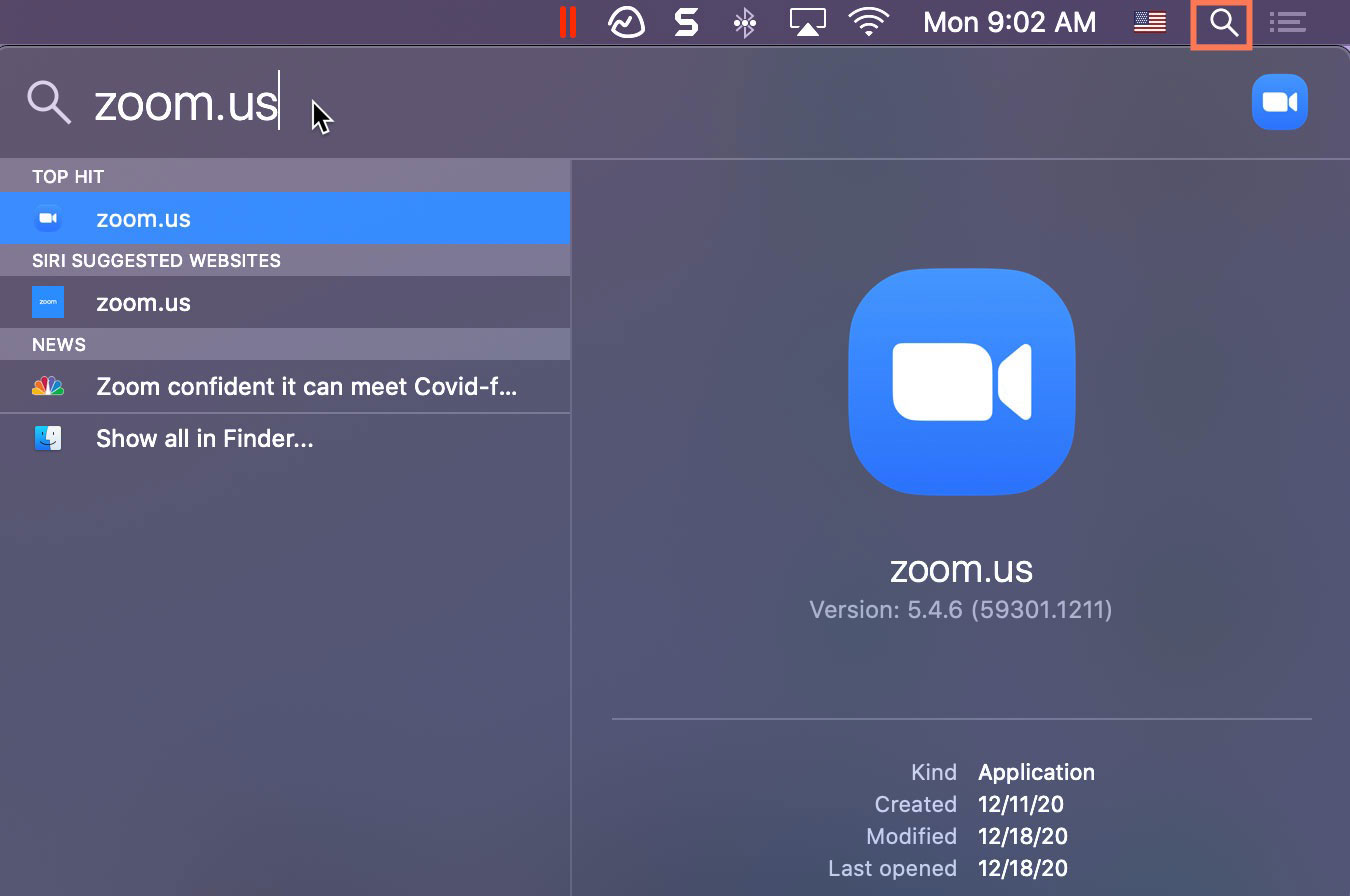
If you still can’t find the file you need, you may be able to re-download it from the original source on the web.
Your computer has many different types of files on it, and each one has its own file extension. A file extension is a three- or four-letter identifier found at the end of a file name and following a period. These extensions tell you about the characteristics of a file and its use. In this lesson, we’ll go over some examples of these extensions, as well as how to determine a particular file’s extension.
Some operating systems hide file extensions by default to reduce clutter. It is possible to show the file extensions if they’re hidden. Click the links below to see how to show file extensions in Windows and macOS:
You can also usually tell what the file type is by looking at the file’s icon. For example, the Word document looks like a file with a W in the corner, while an Excel spreadsheet looks like a file with an X in the corner.
File extensions also tell your computer which applications to use when opening that file. Sometime you may want to use a different application to open that file.
When you’re working on a document or other computer file, you can always save it to your computer’s hard drive. Sometimes, you may want to bring your file with you and open it on a different computer. In this lesson, we’ll talk about two ways to save your files so you can access them from almost anywhere.
USB drives and the cloud can also be used to back up your files. To learn more, check out our lesson on Backing Up Your Files.
USB or flash drives are portable, making it easy to carry your important files and documents with you wherever you go. USB drives have different amounts of memory, or storage space. Those with more memory allow you to store more (or larger) files. It’s helpful to know that photo and video files generally take up more space than written documents.
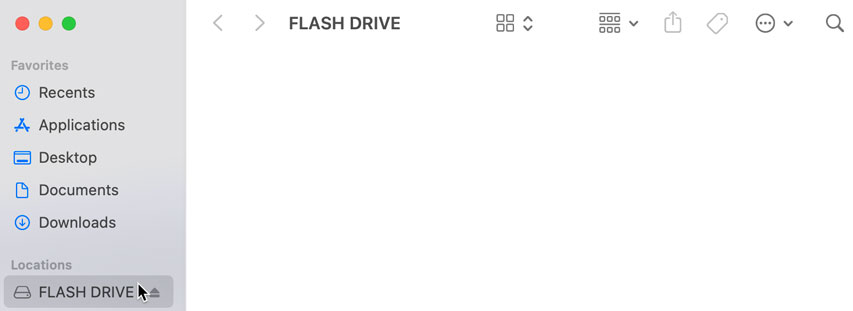
Once you’ve connected a flash drive, you can work with it just like any other folder on your computer, including moving and deleting files.
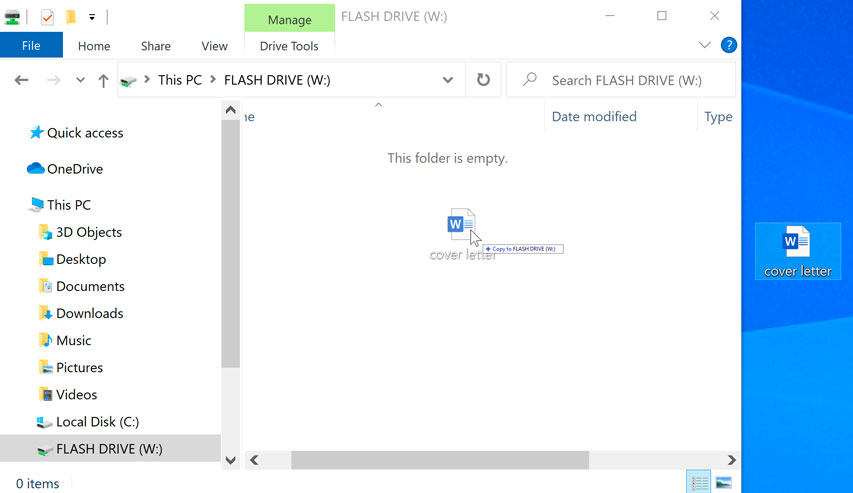
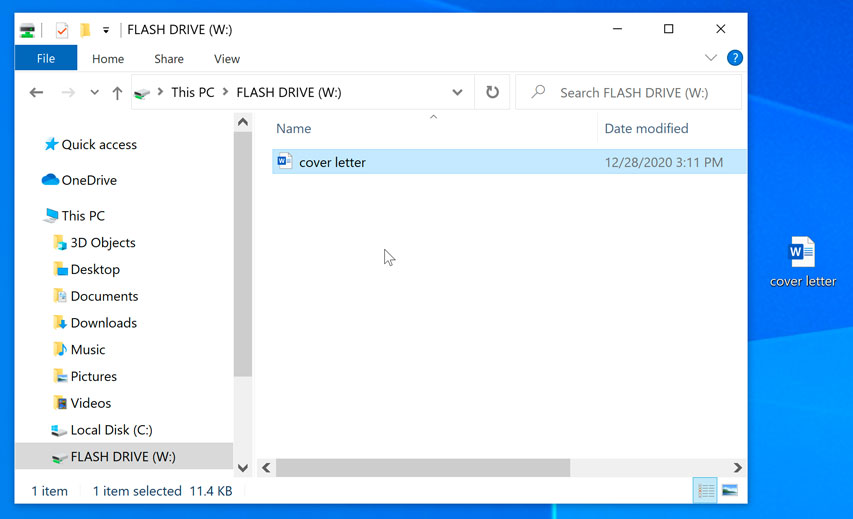
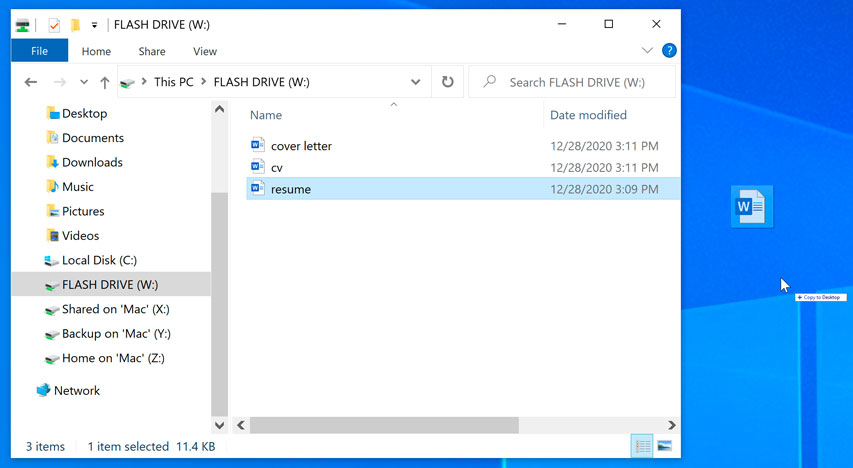
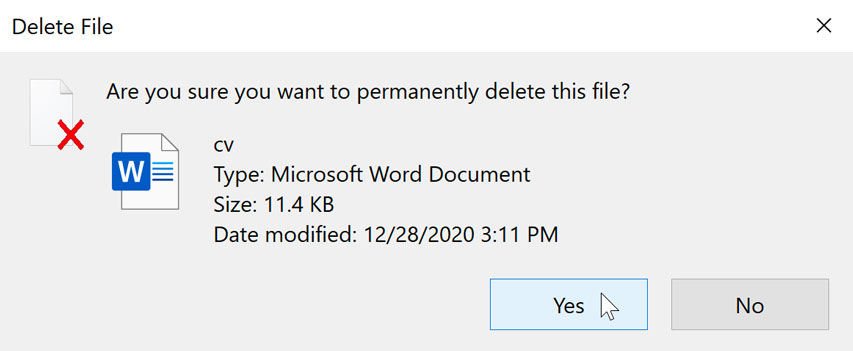
If a dialog box does not appear, you may need to empty the Trash can to permanently delete the file.
When you’re done using a flash drive, don’t remove it from the USB port just yet. You’ll need to make sure to disconnect it properly to avoid damaging files on the drive.
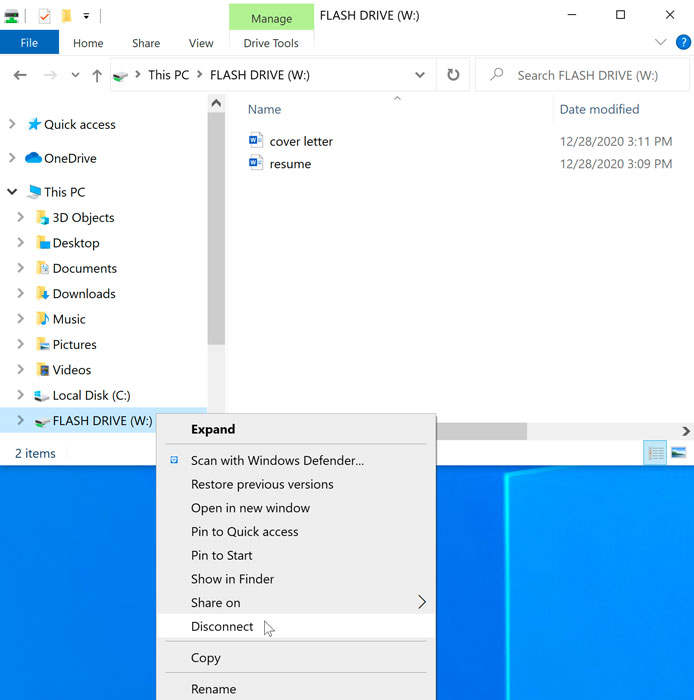
If you’re using a Mac, you can also click the Eject button next to the flash drive in Finder to eject it.
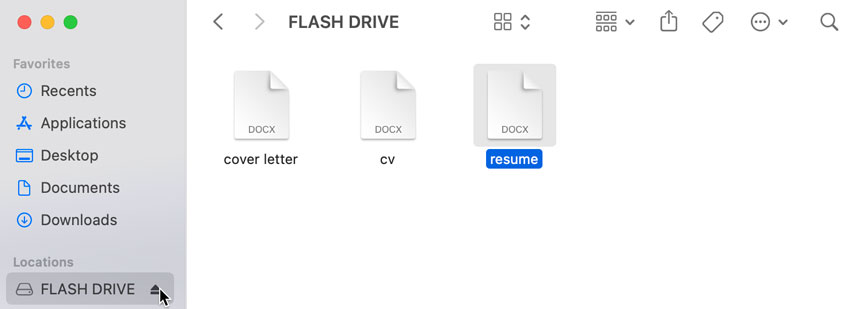
Remember: People frequently forget to eject/retrieve their USB drive if they bring it to a new place. Always be sure to back up your files, and don’t include private information on there in case it gets lost or stolen!
There are many services that allow you to create a free account and save documents, images, and other files to the cloud. Some of the most popular are Google Drive, OneDrive, and Dropbox.
The free storage space that comes with these accounts (usually around 15GB) should be plenty if you’re using your account for regular personal, work, or school purposes. If you own a business and want to keep all of your documents in the cloud, you may want to pay your cloud service for more storage.
Unlike physical media, the cloud can’t break or get lost, so you don’t necessarily need to back up the files you keep on it. Files in the cloud are also easier to share so you can collaborate with friends and coworkers.
However, when you save something online, there’s always a risk that unauthorized users will try to gain access to your personal information. To protect your files, create a strong password and pay attention to the privacy settings and policies of the cloud service you’re using.
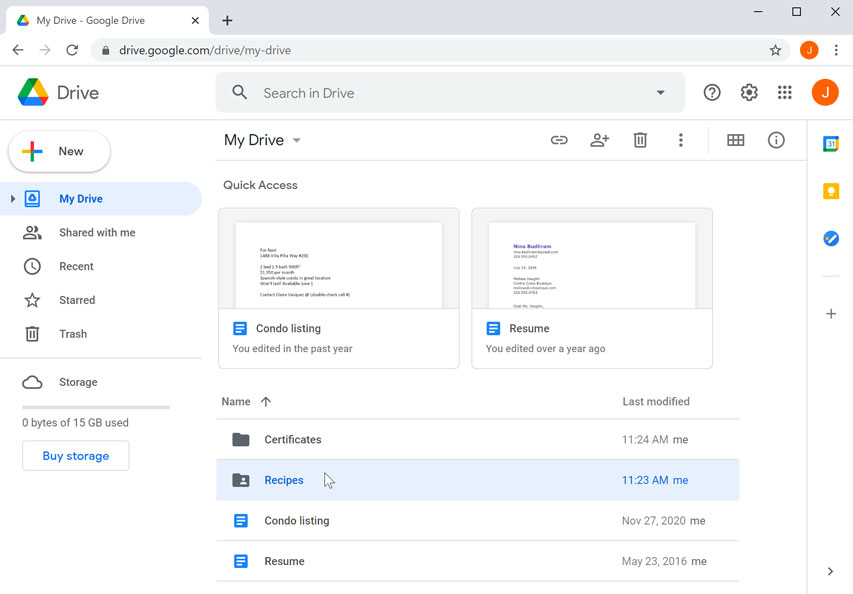
To learn more about services that allow you to store your files in the cloud, check out our tutorials on Google Drive and OneDrive and Office Online.