Google Drive gives you access to a suite of tools that allows you to create and edit a variety of files, including documents, spreadsheets, and presentations. There are five types of files you can create on Google Drive:
 Documents: For composing letters, flyers, essays, and other text-based files (similar to Microsoft Word documents)
 Spreadsheets: For storing and organizing information (similar to Microsoft Excel workbooks)
 Presentations: For creating slideshows (similar to Microsoft PowerPoint presentations)
 Forms: For collecting and organizing data
 Drawings: For creating simple vector graphics or diagrams
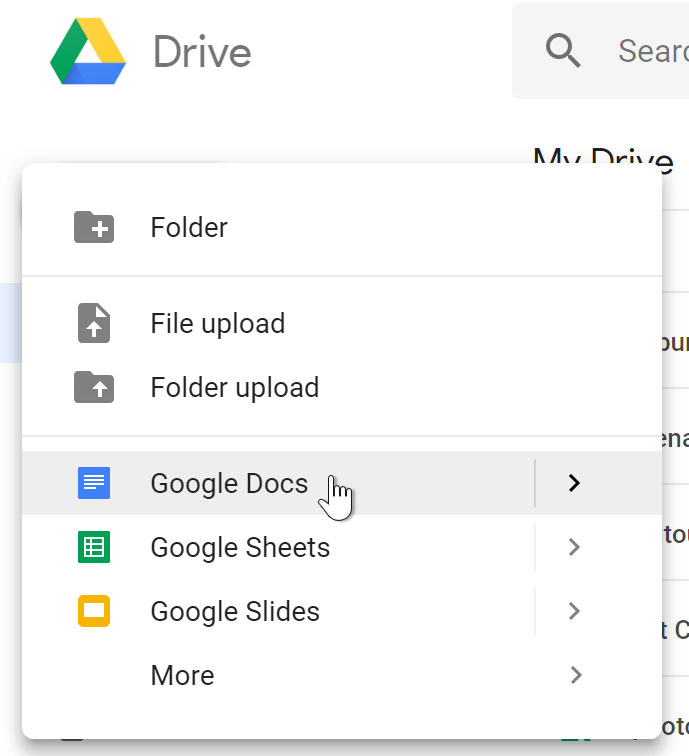
The process for creating new files is the same for all file types. Watch the video below to learn more.

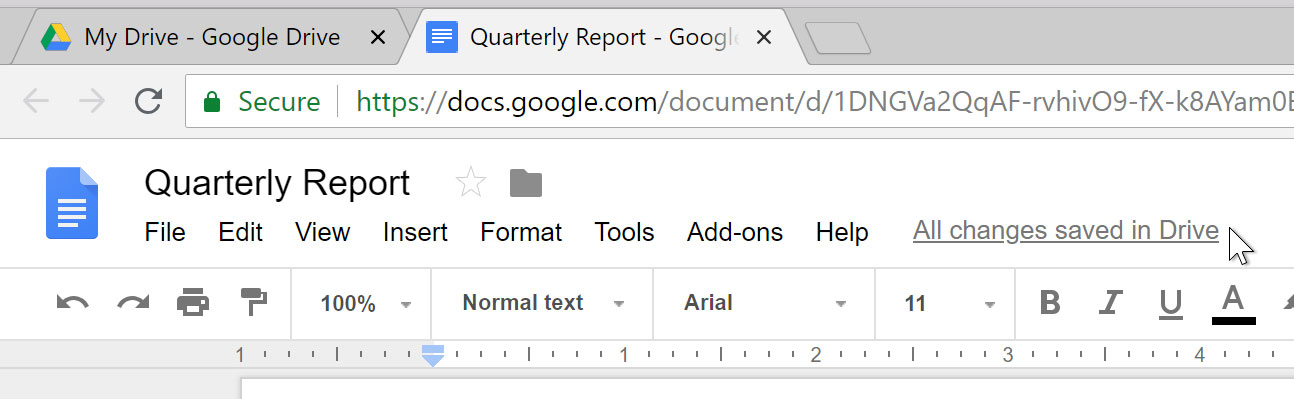
You may notice that there is no Save button for your files. This is because Google Drive uses autosave, which automatically and immediately saves your files as you edit them.
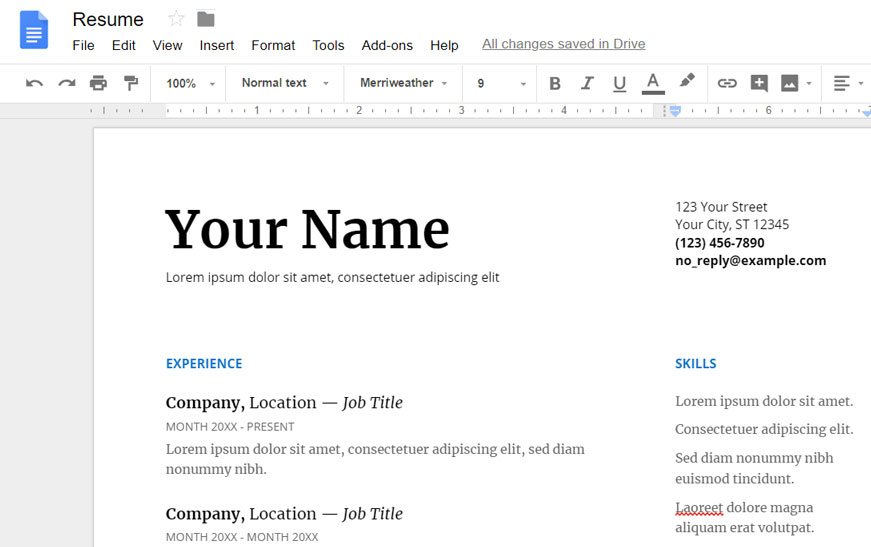
A template is a pre-designed file you can use to quickly create new documents. Templates often include custom formatting and designs, so they can save you a lot of time and effort when starting a new project. Most templates are designed to help you create specific types of files. For instance, you could use a template to quickly create a resume or newsletter.

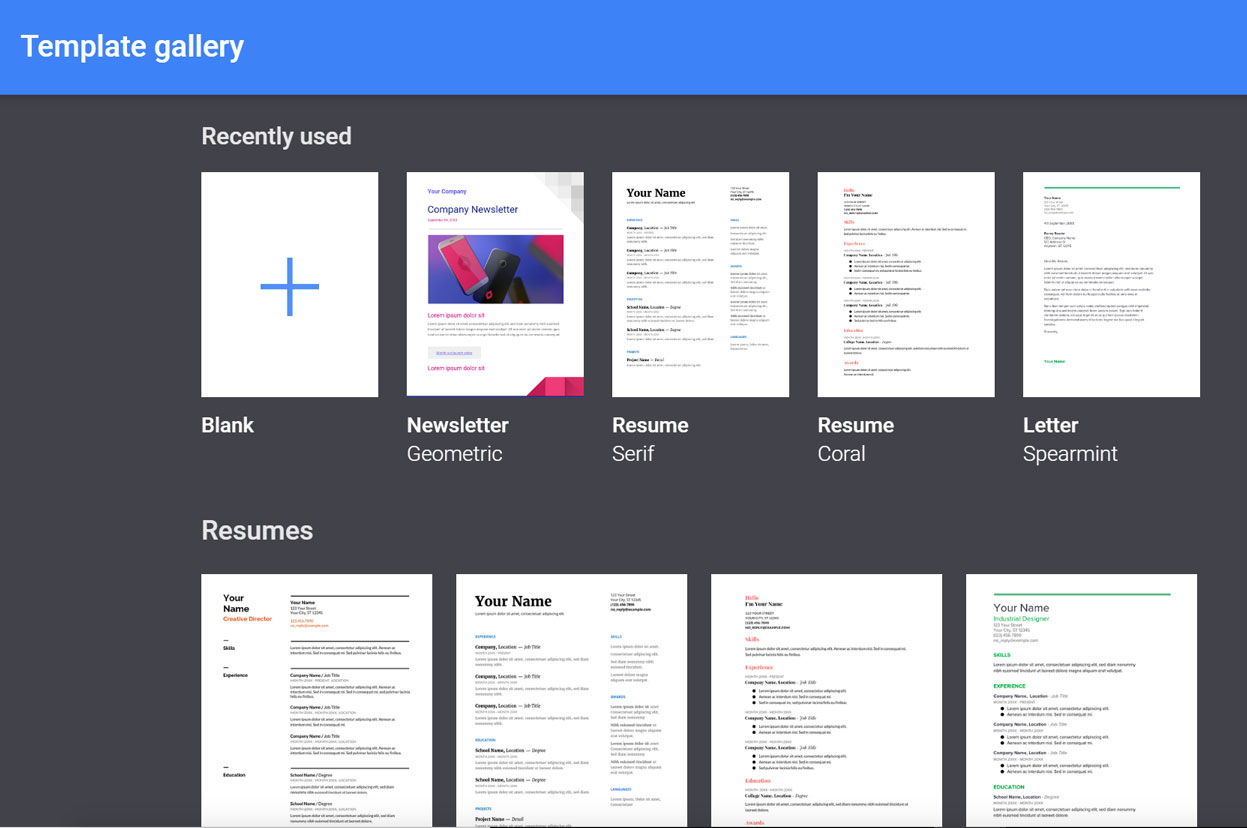
You can find a wide selection of templates in the Google Drive Template Gallery. Unfortunately, we’ve found that many of these templates aren’t very well designed, and it’s often difficult to find specific templates within the gallery. For this reason, we recommend using templates made by Google, which tend to be of higher quality than user-submitted templates.

Did you know that you can create a new Google Doc in just a few seconds? All you have to do is type doc.new into the address bar of your web browser and press Enter.
Watch the video below to see the process in action and to learn what other shortcuts are available.
To create a new Google Doc, type doc.new into the address bar of your web browser and press Enter. It’s that easy.

If you are signed into your Google account, a new document will instantly be created. If you aren’t signed in to your Google account, you will be prompted to log in before the document can be created.
Here are some other shortcuts you can try:
To find the full list of available shortcuts, go to goo.gle/Shortcuts.
Google Drive makes it easy to store and access your files online in the cloud, allowing you to access them from any computer with an Internet connection. If you upload files from compatible programs like Microsoft Word or Excel, you can even edit them in Google Drive. Watch the video below to learn how to upload files to Google Drive.
Google Drive gives you 15 gigabytes (15GB) of free storage space to upload files from your computer and store them in the cloud. There are two main types of files you can store on your Google Drive:
Once you upload a file—no matter what type of file it is—you’ll be able to manage, organize, share, and access it from anywhere. And because the files on Google Drive are synced across your devices, you’ll always see the most recent version of a file.
You can also preview many different file types, even if you don’t have the software required for that file on your computer. For example, you can use Google Drive to preview a Photoshop file, even if Photoshop is not installed on your current computer.
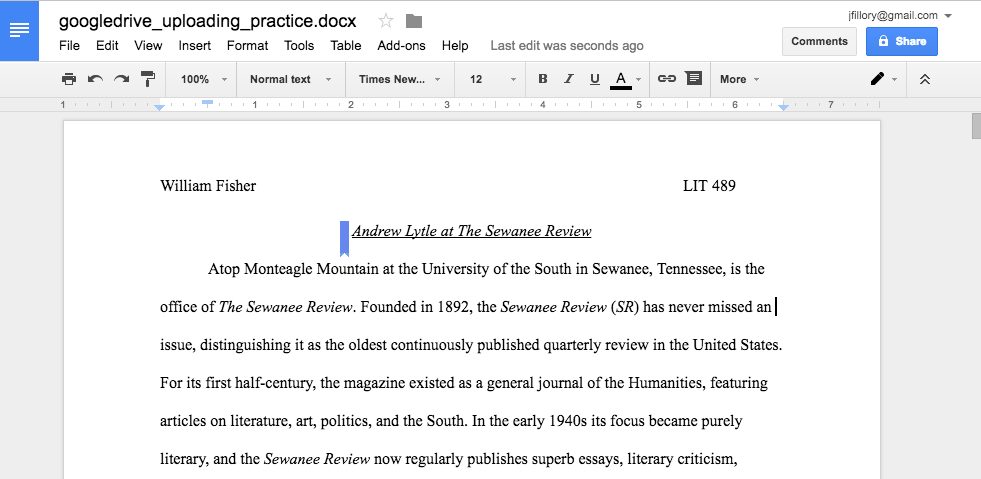
If you are uploading files you plan to edit online, you will need to convert them to Google Drive format. Converting allows you to edit a file and collaborate with others easily. Only certain file types—like Microsoft Office files and PDF documents—can be converted to Google Drive formats.
Unfortunately, this conversion isn’t always perfect. Depending on the level of formatting used in the original document, the converted document could turn out looking quite different, as shown in the example below.
Conversion changes aren’t always just cosmetic—you may even lose information from the original file. You should always review a file that’s been converted before sharing it with others. Remember, you always have the option to store your files in their original file format if you’d prefer not to edit files online.
It’s easy to upload files from your computer to Google Drive. If you’re using the Google Chrome web browser, you can even upload entire folders.


Depending on your browser and operating system, you may be able to upload files by clicking and dragging a file from your computer into your Google Drive.

Note: This feature is only available if you’re accessing Google Drive through Google Chrome.


When you upload certain types of files—such as Microsoft Office files or PDF documents—you’ll only be able to view those files. If you want to edit these types of files in Google Drive, you’ll need to convert them to Google Docs format.


You can set Google Drive to convert your files automatically when you upload them. Click the gear icon, select Settings, then check the box next to Convert uploads.