After you’ve been using Google Drive for a while, you might find yourself having a difficult time keeping track of all of your files. Fortunately, Drive offers several features to help you manage and organize them. Watch the video below to learn more.
Searching lets you look for specific files using words contained within the file or file name. To do this, locate the search bar, then enter the word or file name you’re looking for. A list of suggested searches and files will appear as you type. Simply click a file to open it directly from the search results. You can also press the Enter key to see a full list of search results.

By default, your files are already sorted from newest to oldest. However, you can apply other sorts to put your files in a different order. To sort by name, click the Name button just above the list of files. To sort by date, click the Last modified button, then choose the desired sort option.

Filters let you hide unimportant files and focus only on the ones you’re interested in. For example, if you were looking for a presentation, you could use a filter to narrow down your visible files so you would only see presentations.


To clear a filter, select the text in search bar, then press the Backspace or Delete key.
Once you start adding files to Google Drive, you can use folders to help organize and group them. Folders in Google Drive work just like the folders on your computer.


To add multiple files to the same folder, press and hold the Ctrl key (or Command on a Mac), then click to select each desired file. When you’re ready, click and drag the files to the desired folder.

Deleting a file from your Google Drive is similar to deleting a file from your computer. You will have to move the file to the Trash folder and then delete it permanently, just like you would delete a file from the Trash or Recycle Bin on your computer.


Previewing files is a great way to make sure you’re opening the right version of a file or to take a quick look at files without opening them.


Right-clicking allows you to access the full list of actions for any file. Most of the actions listed here are accessible in other places on Google Drive, but it serves as a great shortcut.

Ready for an additional challenge? The following resource from Google will help you practice organizing and sharing files:
Applied Digital Skills: Organize Files in Drive: In this lesson, you’ll learn how to use Google Drive to store, access, and share files such as documents, presentations, forms, and photos in one central place. The lesson takes 45-90 minutes to complete.
Google Drive makes sharing your files simple. It also allows multiple people to edit the same file, allowing for real-time collaboration. Watch the video below to learn more about these features.
Whenever you share a file from your Google Drive, you can let others view and even edit that same file. While you can share any file stored on your Google Drive, it’s important to note that you can only use the collaboration features for files created within your Drive.
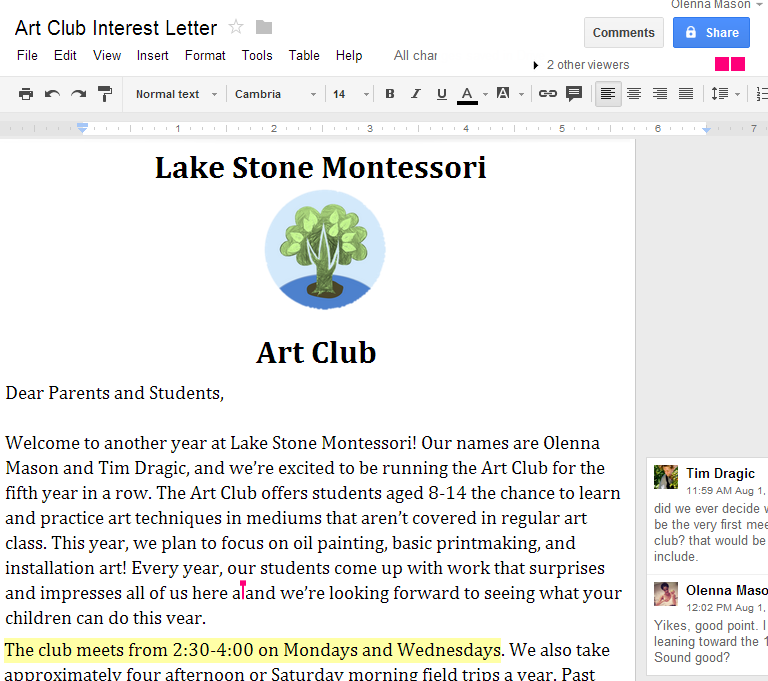
Let’s look at the example of Olenna, an art teacher who uses her Google Drive to organize letters, lesson plans, and more. Olenna’s files include:
As you can tell, no single sharing setting would be right for all of Olenna’s files. The settings you choose for each of your shared files will probably depend on why you’re sharing it in the first place.
When you share a file with a limited group of people, your collaborators must sign in with a Google account to view or edit the file. However, when you share with a larger group or make the file public, your collaborators will not need a Google account to access the file.


For more control over your files, you can click the drop-down arrow to decide whether people can edit, comment on, or simply view the file.

You can easily share a file with a larger group of people by providing a link to any file in your Google Drive. A link is basically a URL or web address for any file you want to share. This can be especially helpful for files that would be too large to send as an email attachment, like music or video files. You can also share a file by posting the link to a public webpage. Anyone who clicks the link will be redirected to the file.


People can also choose to share files with you. These files will appear in your Shared with Me folder. However, if you’d prefer to access a file from your Google Drive without switching to this view, you can move it. To do this, navigate to your Shared with Me folder, hover the mouse over the desired file, then select Add to My Drive.

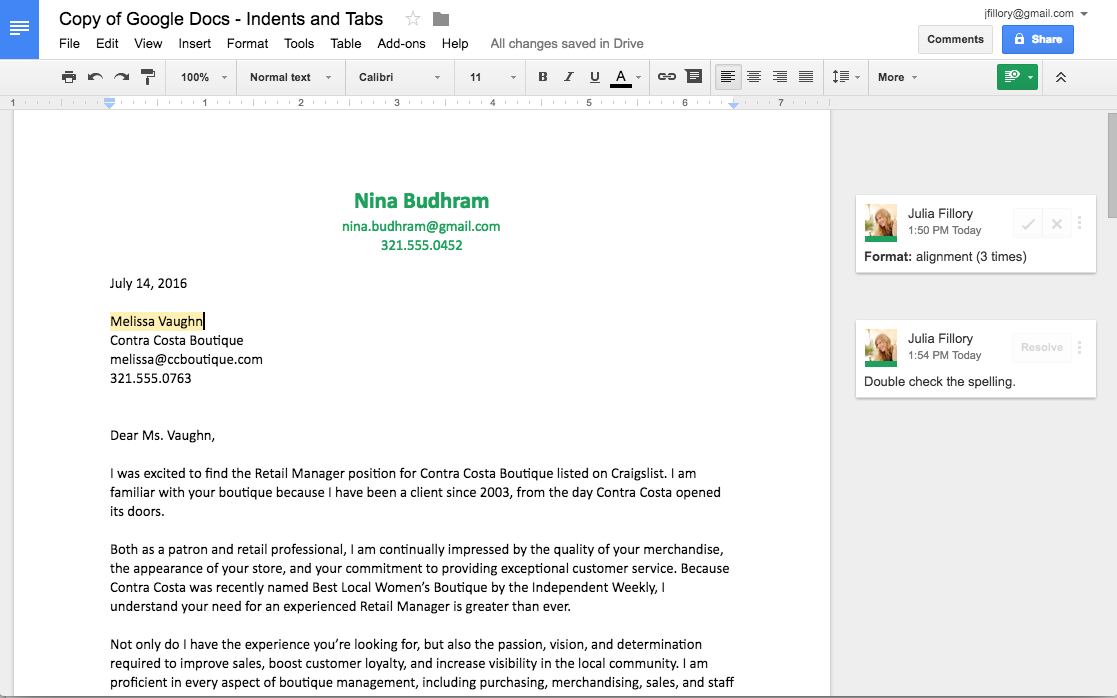
Whenever you share a file in a Google Drive format, you’ll have the option to allow your co-editors to change and edit the file. Google Drive offers several tools that enhance collaboration by making it easier to communicate with your co-editors and to see which changes have been made and by whom.
Click the buttons in the interactive below to learn about the collaboration features in Google Drive.
Google Drive also has a feature called Suggesting mode, which is similar to the Track Changes feature in Microsoft Office. This allows each collaborator to make changes, while giving the other collaborators a chance to review the changes before making them permanent. This page has more information about how to make suggested edits and accept or reject other people’s changes.