Microsoft Office Online is a suite of online applications that lets you create Word documents, Excel spreadsheets, and more. You can store the documents you create—plus any other files you want—on Microsoft OneDrive, an online file storage service. Both of these tools are accessible from anywhere with an Internet connection, and both are free.
In this lesson, you’ll learn more about the features and advantages of Office Online and OneDrive. You’ll also get an idea of what to expect from the rest of this tutorial.
OneDrive was previously known as SkyDrive; Office Online was previously known as Office Web Apps. You may occasionally see references to SkyDrive and Office Web Apps while using these services.
Office Online is a free basic version of the most popular programs in the Microsoft Office suite. It lets you create Word documents, Excel spreadsheets, and more without having to buy or install software. There are four Office Online apps:
You don’t need to install anything on your computer to use Office Online. Instead, you work with it online using a service called Microsoft OneDrive.
OneDrive is a free online storage space you can use as your own personal online hard drive. When you create a document with Office Online, it will be saved to your OneDrive. You can store other files there as well. This type of online storage is referred to as the cloud. Because Office Online and OneDrive are based in the cloud, you can access them from any device with an Internet connection at any time.
Review our lesson on Understanding the Cloud to learn more about the basics of cloud computing.
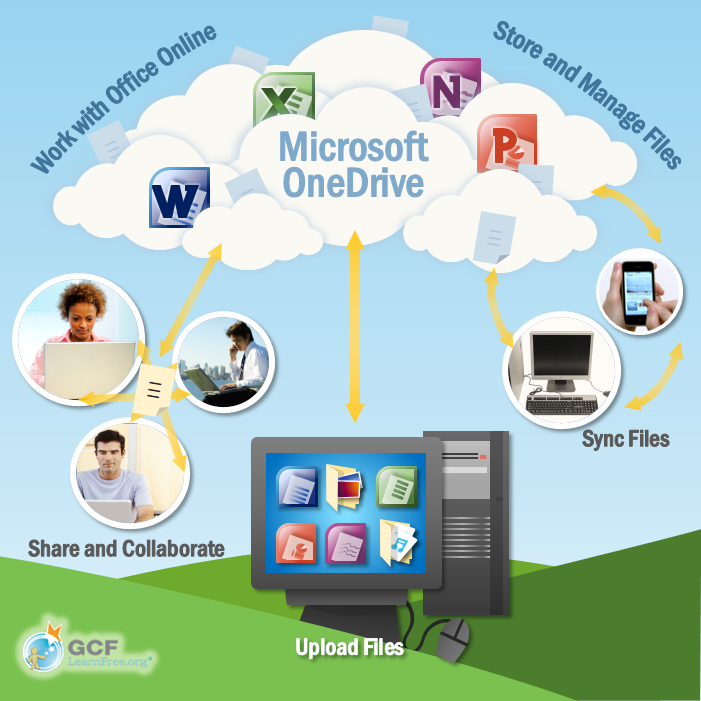
Once you’ve used Office Online and OneDrive to store files in the cloud, you can edit and share them without ever having to download them to your computer. You can also upload files from your computer, including photos and music. You can even sync your computer and OneDrive so any changes you make to your files are automatically copied between the cloud and your computer. As you can see below, working with the cloud makes all of these things possible.
To use Office Online and OneDrive, you’ll need a Microsoft account. Getting a Microsoft account will also give you access to features like email and instant messaging. You’ll learn how to create an account in our lesson on Getting Started with OneDrive.
Visit our Microsoft Account tutorial to learn more about its features.
OneDrive is one of the most popular cloud storage services available today, offering five gigabytes (5GB) of free storage space. And because OneDrive allows you to share and edit documents with Office Online, it’s easy to collaborate with others.
Of course, Office Online and OneDrive aren’t the only services that let you create and store files in the cloud. Google Drive and Apple’s iCloud provide similar features. However, Office Online offers one major advantage over these other services: It is similar to the desktop versions of Microsoft Office applications. If you already know how to use these applications, it will be easy for you to start using Office Online. Also, Office Online and the regular Office applications use the same file types. This means you can edit the same file in both Office Online and the desktop version.
While Office Online is a useful tool, it’s not perfect. Office Online is a limited version of Microsoft Office, which means it may be missing some of the features you like to use. You can still create documents, spreadsheets, and presentations, but they may not look as polished without certain tools.
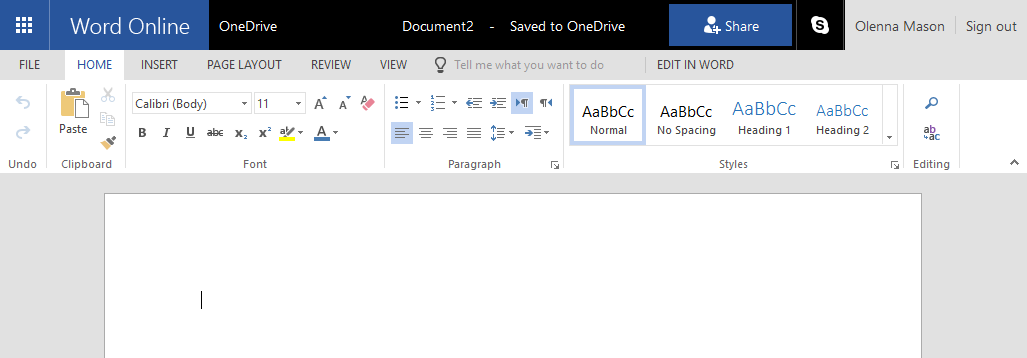
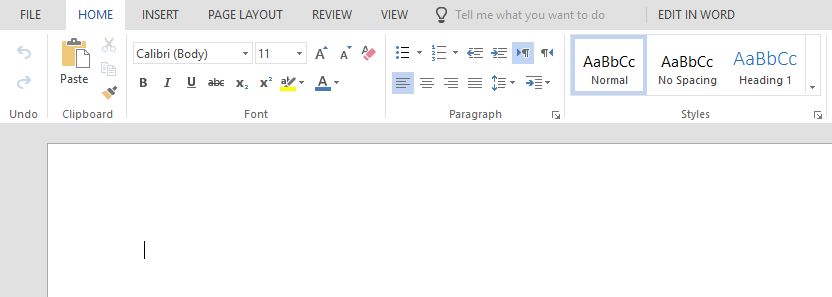
For example, here are the page layout tools in Word Online:

Here are the page layout tools in Word 2016:

As you can see, the desktop version includes several additional features. Still, if you can’t afford to purchase the full version of Microsoft Office, Office Online is a great (and free) alternative. Keep in mind that you need to have access to the Internet to use Office Online and OneDrive. If your Internet connection is unreliable, you may want to keep copies of important files on your computer as well.
Getting Started with OneDrive
Creating a Microsoft account is the first step in getting started with OneDrive. Once you have an account, you can access your own personal OneDrive storage space. A Microsoft account also includes Office Online, as well as other online features like Calendar and Messenger.
In this lesson, you’ll learn how to set up your own Microsoft account and how to access and navigate the OneDrive interface. We’ll also talk about how to download and install the OneDrive app to your computer, which makes it easy to sync files across multiple devices.
Watch the video below to become more familiar with OneDrive.
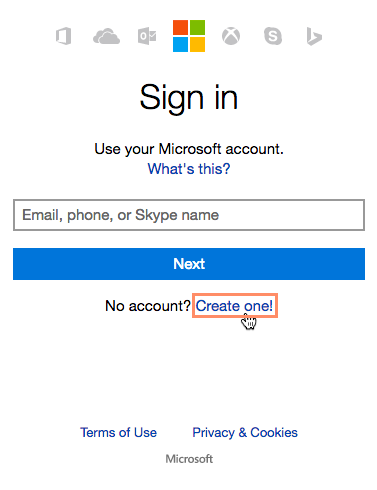
Before you can use Office Online and OneDrive, you’ll need a Microsoft account. If you already have a @hotmail.com, @live.com, or @outlook.com email account (or any other account that lets you use a Microsoft service), you already have a Microsoft account. To access OneDrive, just sign in with your existing account.
Just like with any online service, it’s important to choose a strong password—in other words, one that is difficult for someone else to guess. For more information, review our Creating Strong Passwords lesson.
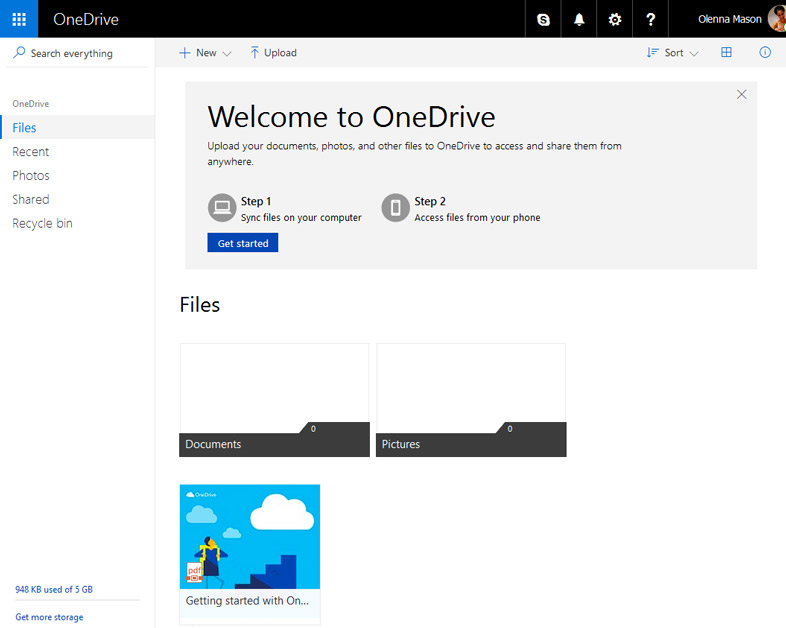
Now that you’ve created a Microsoft account, you’ll need to spend some time becoming familiar with the way OneDrive works. You can access OneDrive at any time by going to www.onedrive.com in your web browser. From here, you can access your files, create new documents in Office Online, and much more.
Click the buttons in the interactive below to learn more about the OneDrive interface.
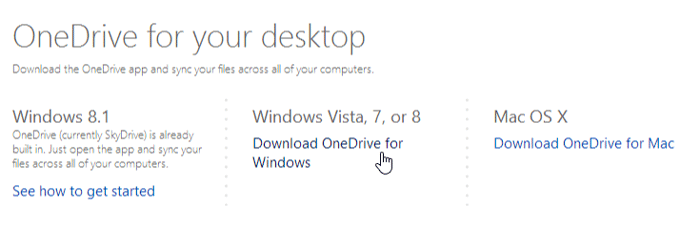
If you prefer working in the desktop, you can download the OneDrive desktop app. This will add a OneDrive folder to your File Explorer. When you move files into this folder, they will automatically be uploaded to OneDrive, and you can access them anywhere you go. You’ll even be able to access any files stored on your computer remotely, even if you haven’t uploaded the files to OneDrive.
In this example, we’ll install OneDrive for Windows. OneDrive is also available for Mac OS X, but keep in mind that the Mac installation process will be slightly different.
If you have Windows 8.1 or later, you already have the OneDrive app on your computer so you won’t need to download and install it.
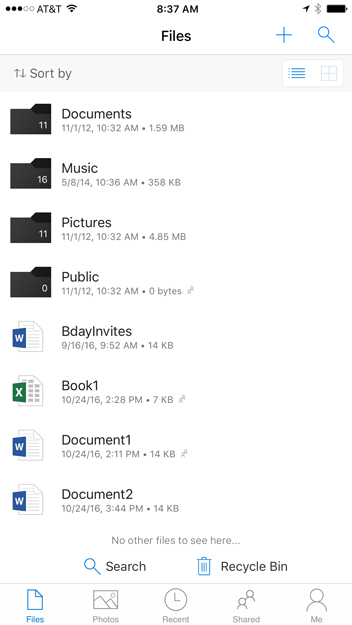
If you need to access your files on the go, OneDrive offers mobile apps for iOS, Android, and Windows Phone. While the mobile app will allow you to view and upload files, you will not be able to edit or create new documents.
Create and Share Office Documents
Whether you’re working at home or the office, OneDrive makes it easy to create new documents and share your files. You can even collaborate with others on a document.
In this lesson, you’ll learn how to create documents and folders. We’ll also talk about how to share your files with different groups of people, as well as the various collaboration tools available in Office Online.
Watch the video below to learn more about creating and opening documents and folders in OneDrive.
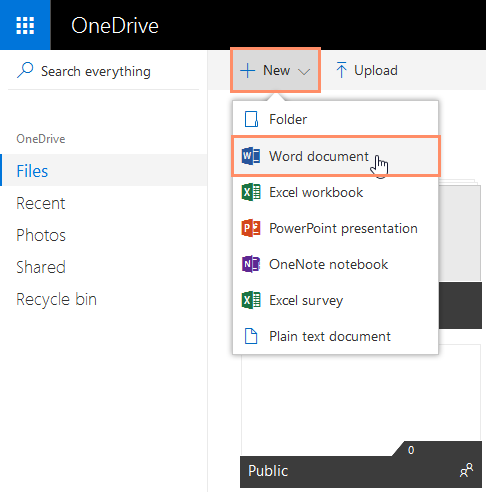
Office Online allows you to create several types of documents, including:
In this example, we’ll create a Word document.

You’ll learn more about moving existing files into folders in our lesson on how to Upload, Sync, and Manage Files.
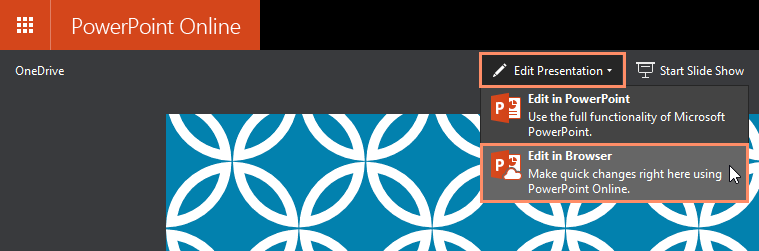
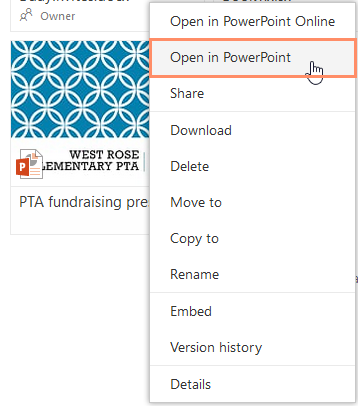
You can open and edit your documents in your web browser with Office Online. If you have Microsoft Office installed on your computer, you can also open and edit them with the desktop Office programs. While editing your documents with Office Online is convenient, it does have fewer features and editing tools than the desktop Office programs.
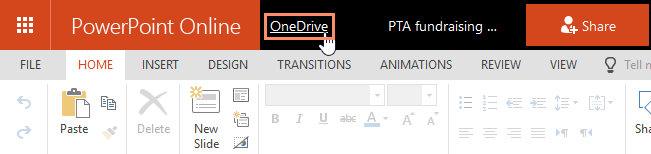
To close the document and return to OneDrive, click the OneDrive link at the top of the page.
You will need to have a version of Office installed on your computer to use this option.
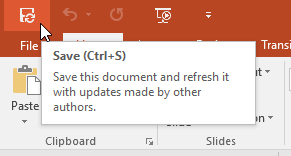
When you’re ready to return to OneDrive, simply save the document within the desktop program and close it. The changes you made will be saved to the file on OneDrive as well.
When you use OneDrive to share a document with someone, you’re actually giving that person access to the exact same file you’re working on. This lets you and those you share with edit the same document without having to keep track of multiple versions.
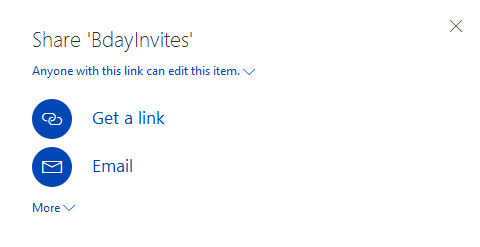
There are two ways to share in OneDrive. You can share:
Watch the video below to learn more about sharing documents and folders in OneDrive.
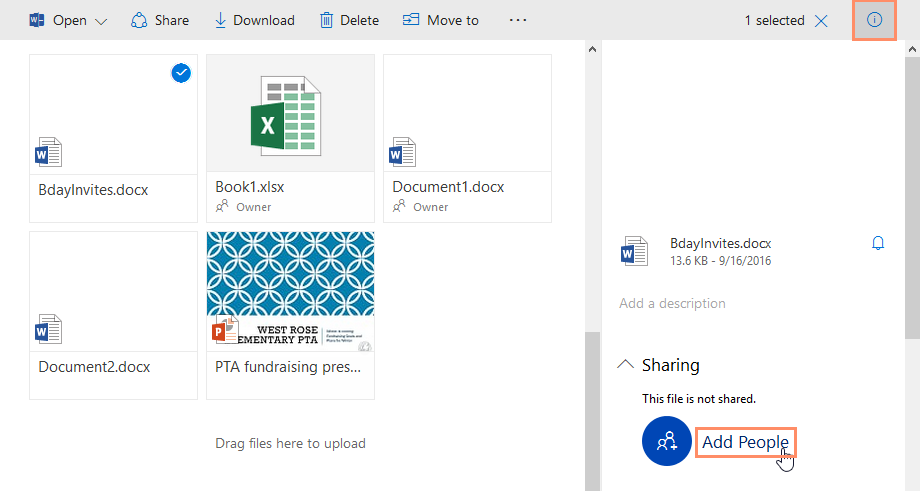

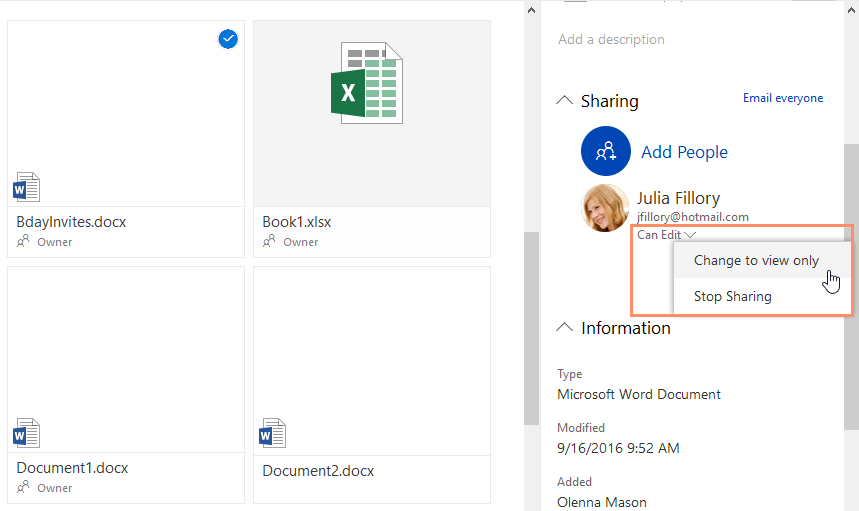
To edit the permissions of a shared file or folder, go back to the details pane and use the controls in the Sharing group.
Remember, when you share a folder, all of the documents in that folder will be shared. You cannot set individual sharing settings for documents within a shared folder.
Once you’ve shared a document with others, they’ll be able to access it at any time. If you gave them permission, they’ll also be able to edit it with Office Online. In fact, multiple people can edit the same shared document at the same time. If someone’s editing the document, you’ll be able to see that person’s name in the top-right corner of the window.

As other people make changes to a document you have open, you’ll be able to see the location of their cursors, although you won’t be able to see their edits until they save their changes. These changes will be applied to all versions of the document.

This aspect of sharing can be a bit unpredictable. When you’re editing at the same time as other people, the changes they make might not appear immediately. You may need to refresh and reopen the document to see their most recent edits.
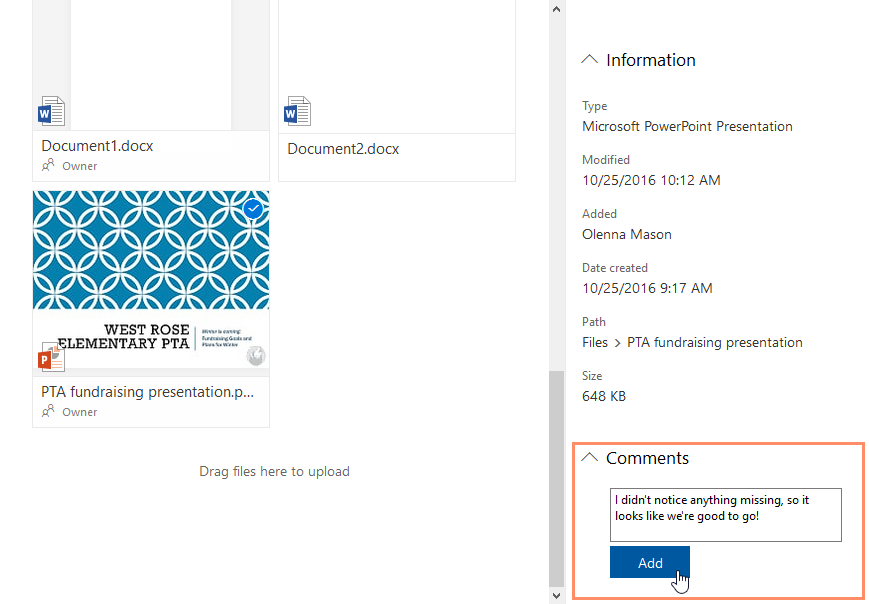
You can communicate about shared documents by adding document comments. When you comment on a document you’ve shared with others, they will be able to see and respond to your comment.
Upload, Sync, and Manage Files
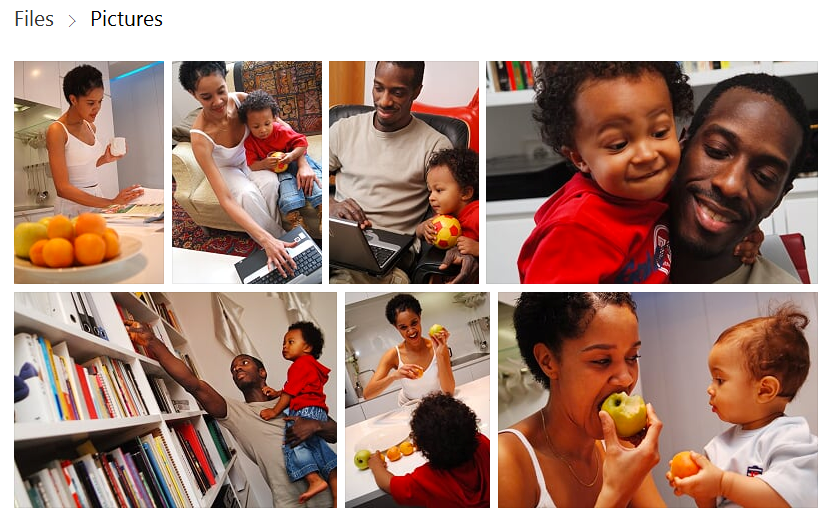
OneDrive isn’t just for storing documents. You can also upload other files, like photos, videos, and music. In total, OneDrive gives you 5GB of free space to store files of all types.
In this lesson, you will learn how to upload and sync files from your computer to OneDrive. You’ll also learn how to move files from one folder to another. Finally, you’ll learn about additional file options, including special options for managing photos.
Watch the video below to learn more about uploading and syncing files in OneDrive.
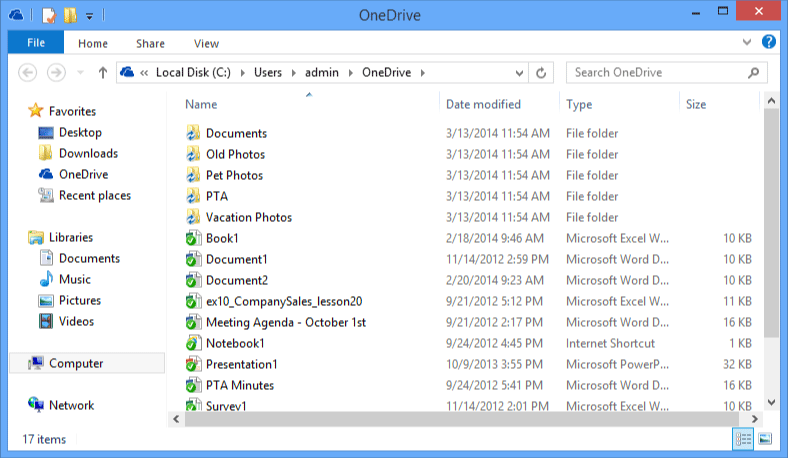
The OneDrive desktop application makes it easy to upload and sync files across all of your devices. If you have Windows 8.1 or 10, the OneDrive app is already built in. If you’re using an earlier version of Windows, review our lesson on Getting Started with OneDrive to learn how to install the app (if you haven’t already). The OneDrive desktop application works like any other folder on your computer. Whenever you move a file to the OneDrive folder, that file is moved online to the cloud, allowing you to access the same version of that file from any computer connected to the Internet.
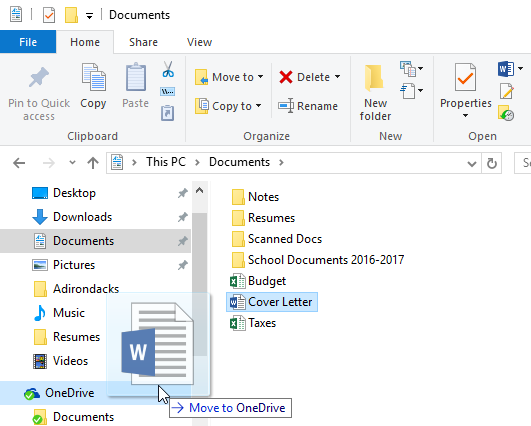
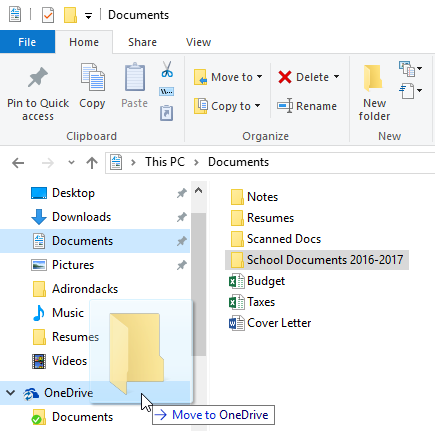
Uploading individual files can be time consuming. Fortunately, you can move entire folders to OneDrive. Whenever you upload a folder, the folder and every file stored within it will be uploaded to your OneDrive.
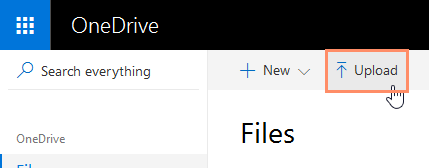
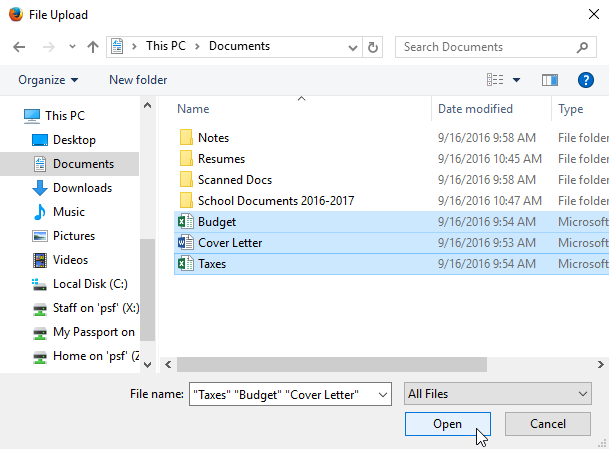
If you don’t have access to the OneDrive desktop application, you can upload files using the web uploader. The process takes a little more time than uploading files with the OneDrive application, but it’s still an easy way to upload files from anywhere.
After you’ve been using OneDrive for a while, you might find yourself having a difficult time keeping track of all of your files. Fortunately, OneDrive offers several features to help you manage and organize them.
Watch the video below to learn more about managing your files in OneDrive.
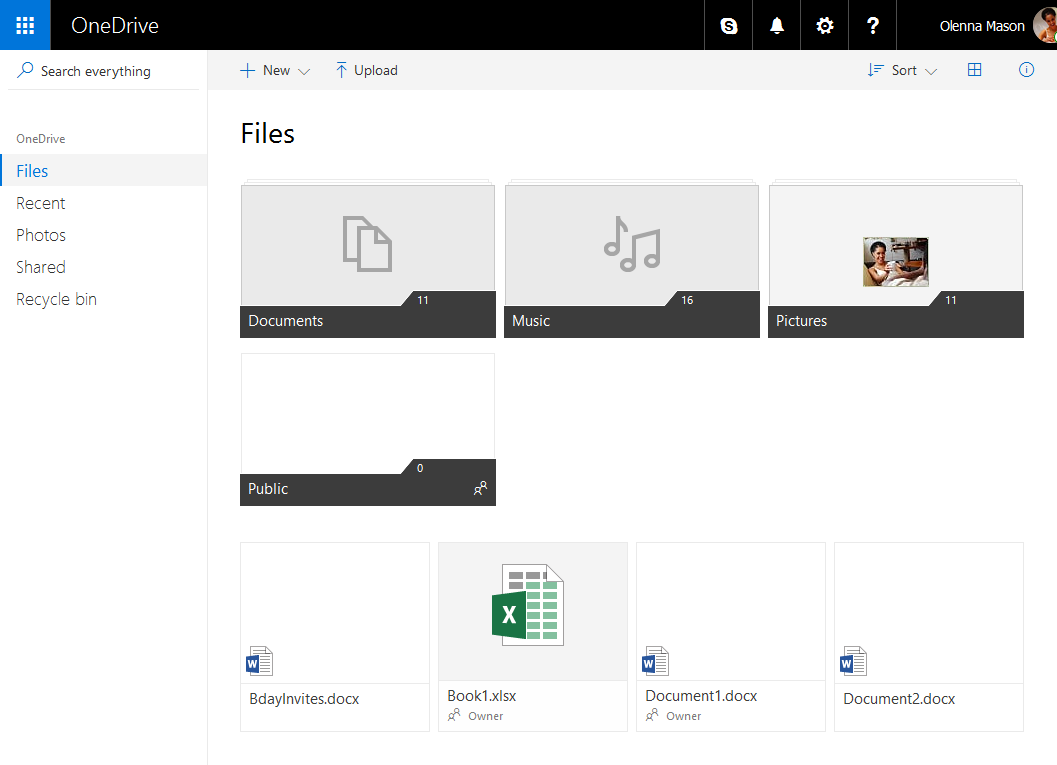
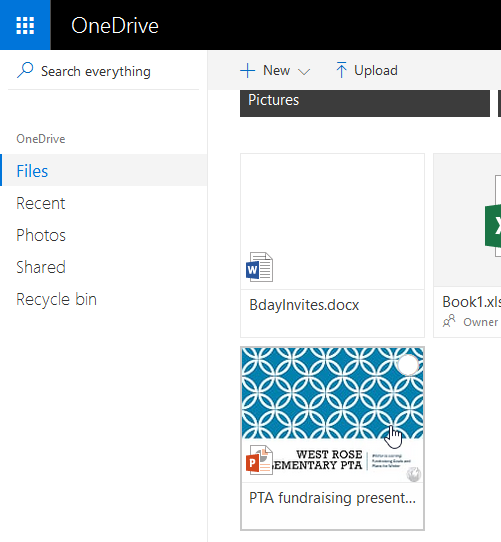
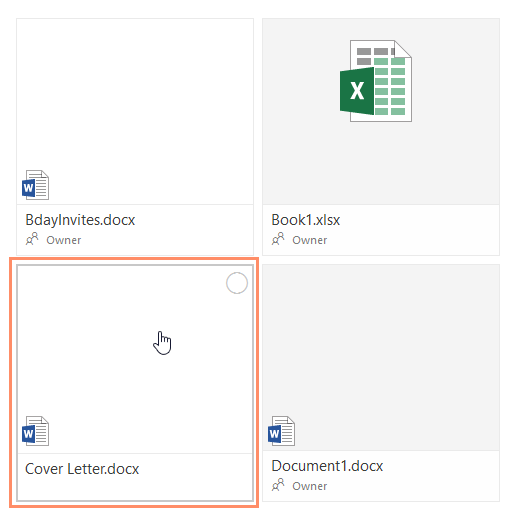
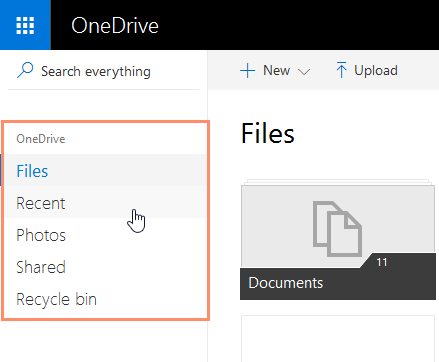
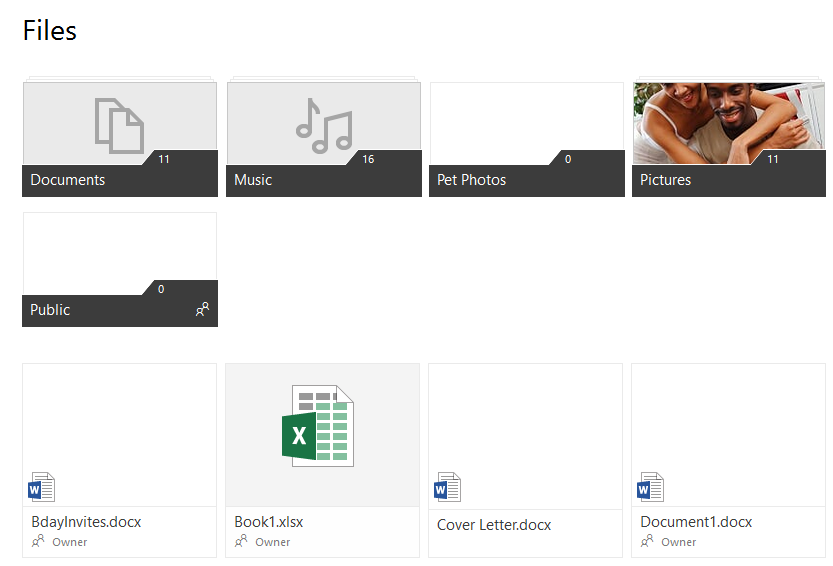
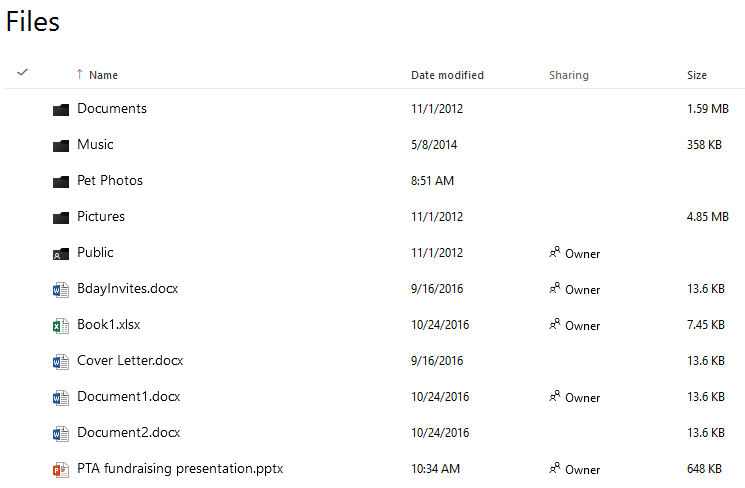
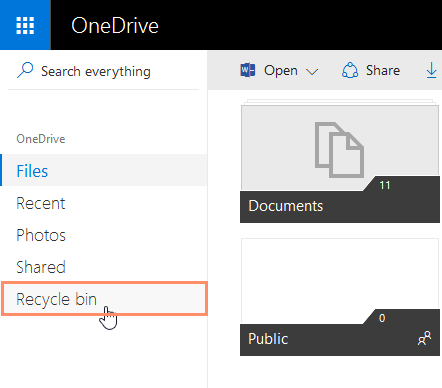
When you navigate to the OneDrive main page, you’ll see all of your files and folders. You can choose which files to view by selecting various options in the left navigation pane.
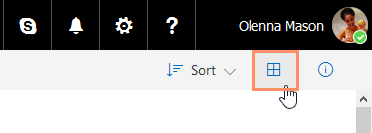
You can also change how your files are displayed by clicking the View Options icon.
You can find documents by using the search feature. Searching lets you look for a specific document using words contained within the document and its title.

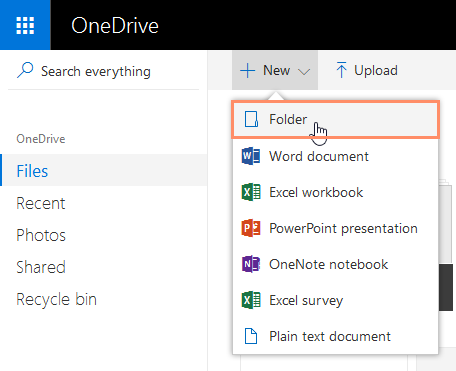
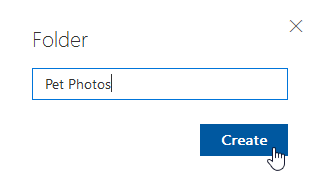
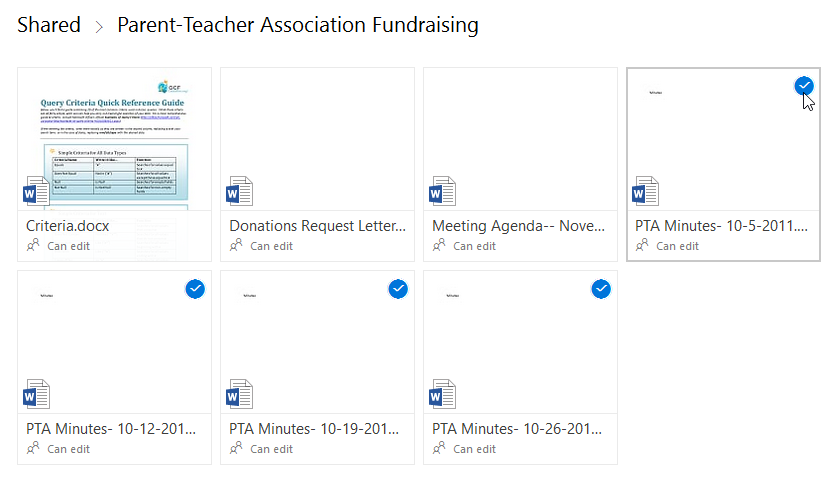
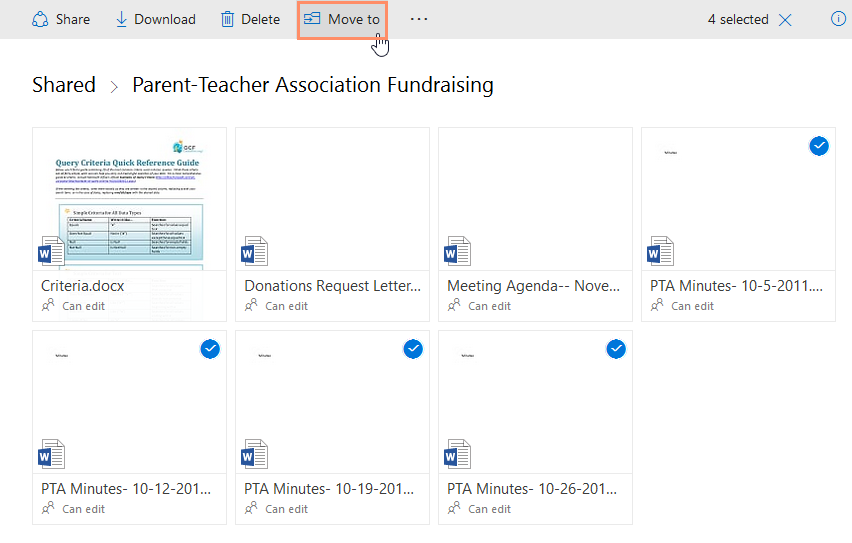
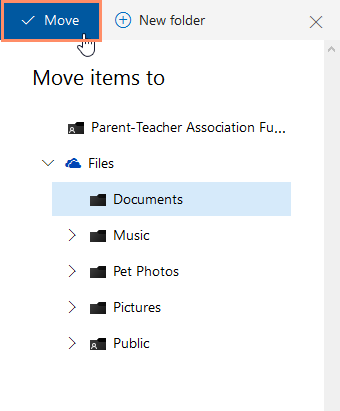
You can use folders to organize your files. Documents can be stored in folders and moved from one folder to another. Moving documents can be useful because you can share a document simply by moving it to a shared folder. For example, if you’re working on a project with a group of people, you can share a folder with them. Then you can move any files you want to share with the group to that folder.
To learn more about creating and sharing folders, review our lesson on how to Create and Share Office Documents.
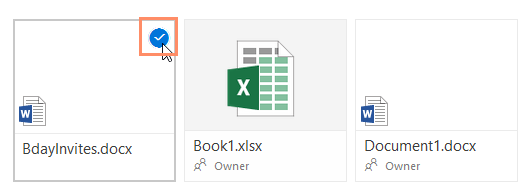
To access additional file management options, right-click the file.
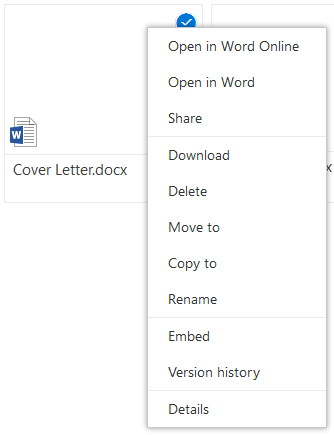
These options include:
Office Online is similar to the applications in the desktop Microsoft Office suite, but it’s not identical. Because it’s free to use, Office Online has fewer features than the desktop version. Still, if you already know how to use Microsoft Office, you should find Office Online fairly easy to work with.
This lesson will focus on using Word, Excel, and PowerPoint. To learn about OneNote, visit Microsoft Office’s OneNote Online page.
Watch the video below to learn more about using Office Online.
Office Online includes useful tools for creating basic Office documents. However, it lacks advanced document formatting tools, which can make it a challenge to create polished and professional-looking documents. One way to avoid this problem is by creating documents in Office Online, then polishing them as needed in desktop Office programs.
Word Online is the online version of Microsoft Word. You can use Word Online to create text documents, including letters, resumes, and flyers.
If you’re unfamiliar with Microsoft Word, review our Word 2016 tutorial to learn how to create and format documents.
Compared to the desktop version, Word Online has fewer editing and formatting tools. This means you won’t be able to use Word Online to heavily customize the appearance of your documents. In addition, Word Online lacks several advanced features, including the ability to track changes and use SmartArt and Mail Merge.
Click the buttons in the interactive below to become familiar with the Word Online interface.
Excel Online is the online version of Microsoft Excel. Like the desktop version of Excel, Excel Online allows you to use spreadsheets, or worksheets, to store and analyze data in organized workbooks.
If you’re unfamiliar with using Microsoft Excel, review our Excel 2016 tutorial to learn how to create and use workbooks.
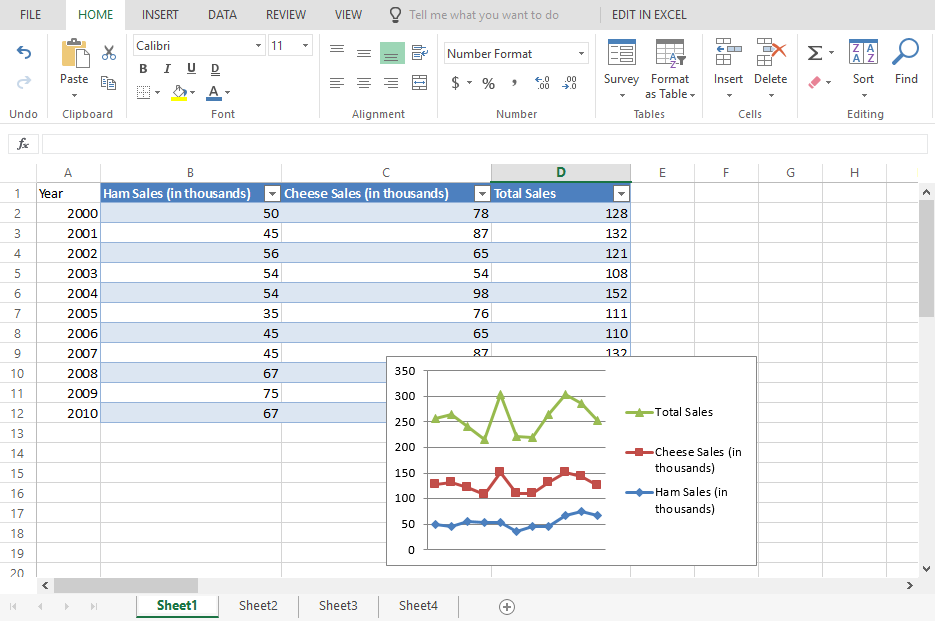
Excel Online contains many of the most useful Excel features. For example, you can perform calculations with formulas. You can even organize your data into tables and charts, although you won’t be able to do much to customize their appearance.
Most of Excel’s advanced tools are not included in Excel Online. For instance, you won’t be able to create PivotTables, perform advanced data analysis, or customize the page layout.
Click the buttons in the interactive below to become more familiar with the Excel Online interface.
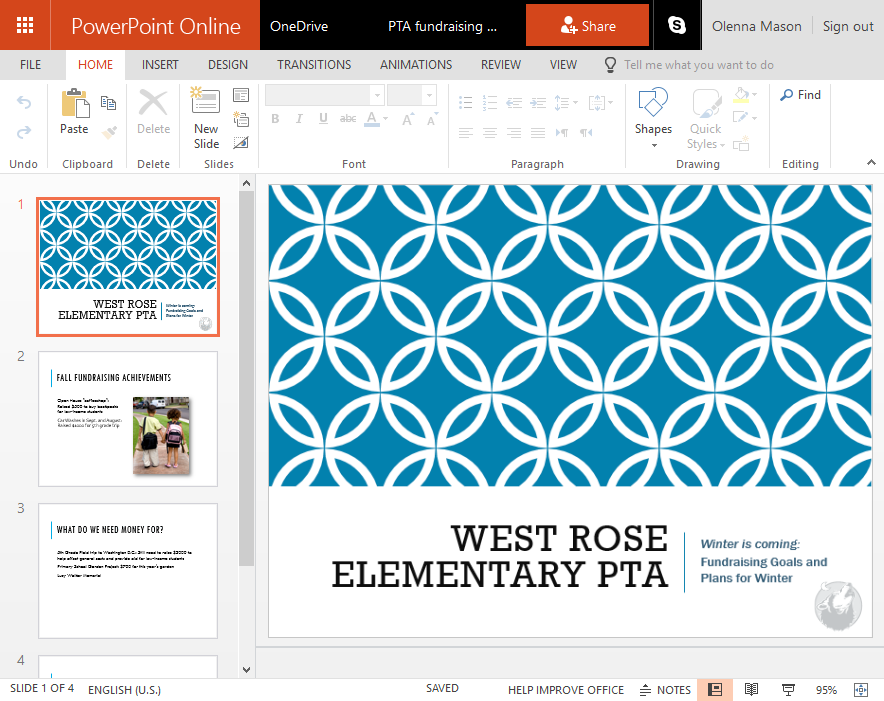
PowerPoint Online is the online version of Microsoft PowerPoint. You can use PowerPoint Online to create slideshow presentations that include text, images, and SmartArt graphics.
If you’re unfamiliar with Microsoft PowerPoint, review our PowerPoint 2016 tutorial to learn how to create and format presentations.
While it still lacks many of tools found in the desktop version, PowerPoint has fewer limitations than Word and Excel. You can easily insert pictures, SmartArt, animations, and transitions.
However, there are some design tools that are not available in PowerPoint Online, including Slide Master view. While it is possible to create professional presentations with PowerPoint Online, you won’t have as much control over the way these presentations look as you would in the desktop version.
Click the buttons in the interactive below to become more familiar with the PowerPoint Online interface.