Skip to content
Introduction
Microsoft is best known for its popular software packages: Microsoft Windows and Microsoft Office. But today, Microsoft also provides many free online services you can use to perform various tasks at home or at work. To use these services, including OneDrive or Skype, you’ll need to create a Microsoft account.
In this lesson, you’ll learn more about the features and benefits of a Microsoft account. We’ll also talk about the various tools and services a Microsoft account provides, including Calendar, Office Web Apps, and more.
What is a Microsoft account?
A Microsoft account gives you access to a wide range of services and tools. These include:
- Productivity tools that let you create, store, and edit documents, videos, images, and other files
- Social tools that let you communicate via email and chat, as well as share and collaborate on files stored online
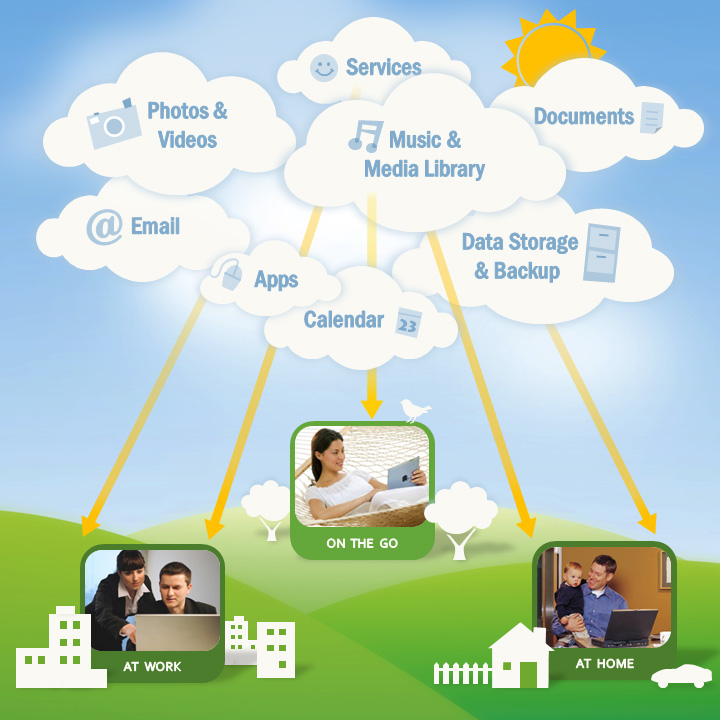
A Microsoft account can help you accomplish most everyday computer tasks, much like the Windows operating system. The difference between these services and more traditional productivity suites is that many of the files and services you work with are stored online rather than on your computer. This type of online storage is commonly referred to as the cloud.
Check out our lesson on Web Apps and the Cloud to learn more about the basics of cloud computing.
To use these services, you’ll need a Microsoft account. Every piece of information you create with Microsoft tools—from contact lists in Outlook and Skype to an Office document stored in the cloud—is connected with your Microsoft account. No matter how many of these services you use, you only need one account to access them.
If you use Microsoft services like Outlook or Skype, you already have a Microsoft account—otherwise, you’ll have to create a free Microsoft account (check out our lesson on Creating a Microsoft Account to learn more).
Why get a Microsoft account?
Cloud-based services like a Microsoft account allow you to access, edit, and share files from anywhere with an Internet connection. As these services become increasingly popular at home and the office, understanding how they work is becoming an essential part of computer and Internet literacy.
A Microsoft account is only one example of cloud-based services. Other popular services include Google accounts and Apple’s iCloud. So how do you choose which service to use? In many ways, these services are so similar that you could choose one at random and still find it useful. All offer basic tools like file storage, email, and chat.
That said, if you already use Microsoft tools like Microsoft Office, Outlook, Hotmail, or Skype, you might find a Microsoft account easier to use than other services. Its document creation, sharing, and storage features were all designed to work well with existing Microsoft programs and tools. A Microsoft account even gives you access to a web-based version of Microsoft Office, called Office Online (previously known as Office Web Apps). Office Online is similar to the desktop versions of Word, PowerPoint, and Excel, which makes it easy to use—especially if you’re already comfortable working with these applications.
Microsoft account features
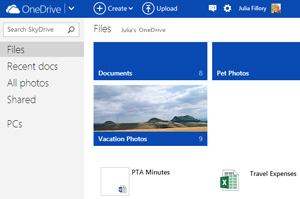
Once you have a Microsoft account, you can access all of Microsoft’s online services. This includes several core services and tools, like OneDrive (previously called SkyDrive), Office Online, and Outlook.com.
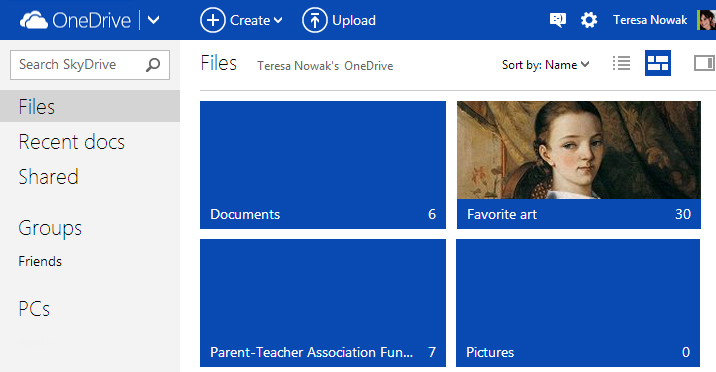
- OneDrive and Office Online
- OneDrive is a cloud-based storage system you can use as your own personal online hard drive, with 7GB of free space. OneDrive is also integrated with Office Online, a free web-based version of popular Microsoft Office programs you can use to create basic Word documents, Excel workbooks, PowerPoint presentations, and more.
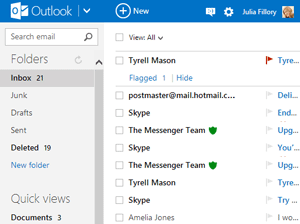
- Outlook.com, Calendar, and Messenger
- A free email service, Outlook.com makes it easy to send and receive email from anywhere. From there, you’ll also be able to use Microsoft’s other online services, including Calendar, which allows you to schedule appointments; and Messenger, which allows you to send instant messages to your contacts.
- Windows Essentials
- This is a suite of desktop applications you can download to your computer. Popular programs include the desktop version of OneDrive, which makes it easy to back up files from your computer; Family Safety, which lets you set parental controls for specific users; Movie Maker; and Photo Gallery. You don’t necessarily need a Microsoft account to use these programs.
Visit the Windows Essentials page to download and install Windows Essentials.
Creating a Microsoft Account
Introduction
Before you can use Microsoft’s online tools and services, you’ll need a free Microsoft account.
In this lesson, you’ll learn how to create your own Microsoft account and how to navigate Microsoft’s various online services. You’ll also learn how to customize your profile page.
Creating a Microsoft account
If you have a Hotmail account or any account that lets you use any other Microsoft service, like OneDrive or XBox Live, you already have a Microsoft account—just sign in with your existing account information.
To create a Microsoft account:
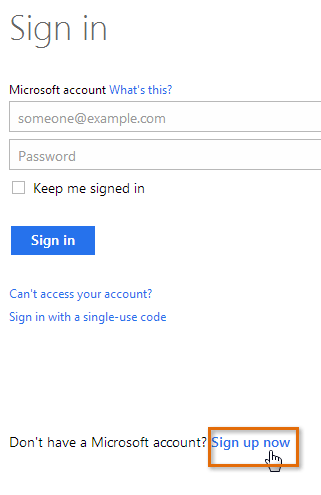
- Go to login.live.com. Locate and select Sign up now.
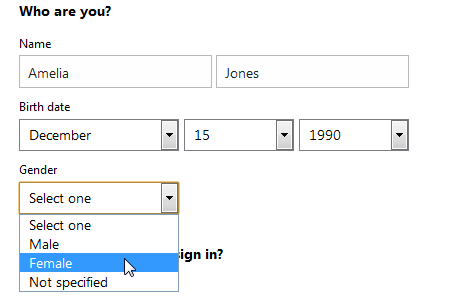
- The sign up form will appear. Follow the directions and enter the required information, such as your name, birth date, and gender.
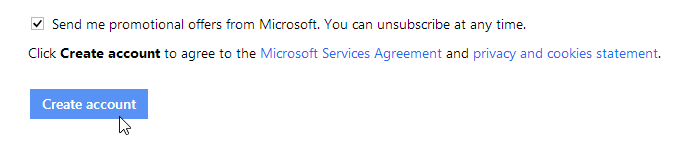
- Review the Microsoft Services Agreement and privacy statement, then click Create account.
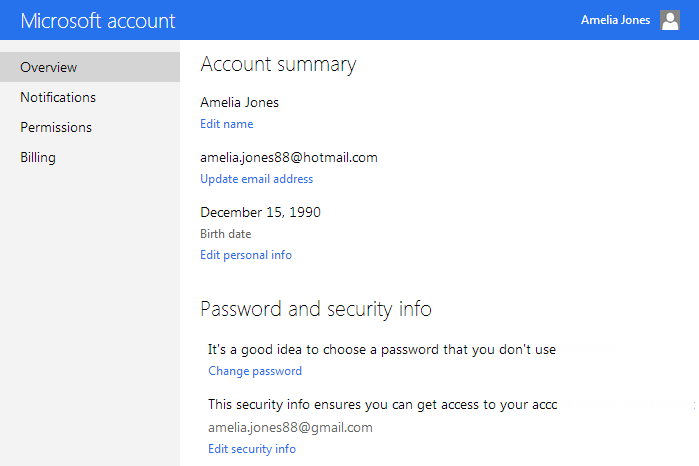
- Your Microsoft account is now created, and the account settings page will appear.
Just like with any online service, it’s important to choose a strong password—in other words, one that is difficult for someone else to guess. For more information, check out our Password Tips lesson.
Getting started
After you create a Microsoft account, you’ll be taken to the Microsoft account settings page. To use the features and services of your Microsoft account, such as OneDrive or Messenger, you will first need to access your profile page.
To access the profile page:
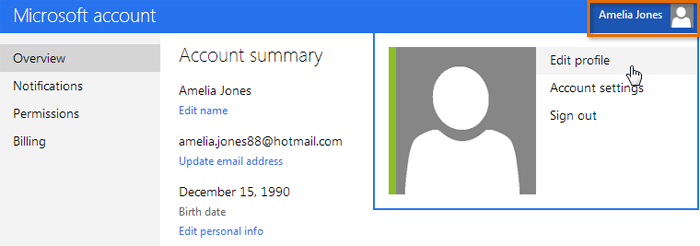
- Locate and select the profile icon in the top-right corner of the screen, then select Edit profile from the drop-down menu.
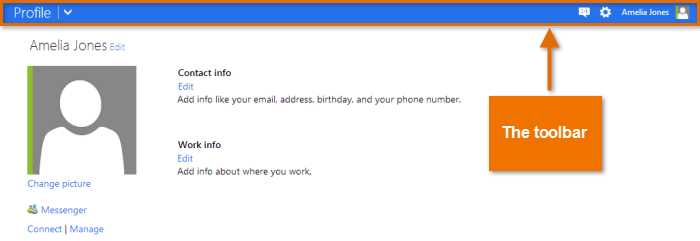
- The profile page will appear. From here, you can access the toolbar, which will help you navigate Microsoft’s online services.
To use the toolbar:
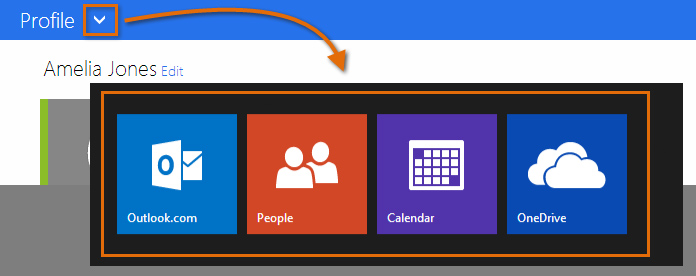
- Click the drop-down arrow in the top-left corner to open a menu of Microsoft services: Mail (either Outlook or Hotmail), People (contacts), Calendar, and OneDrive (previously called SkyDrive). Simply click the service you want to use to get started.
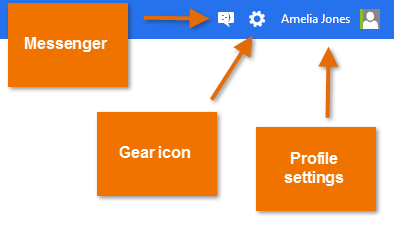
- Click the icons in the top-right corner to access Messenger, your profile settings, and the Gear icon, which controls individual settings for each Microsoft service.
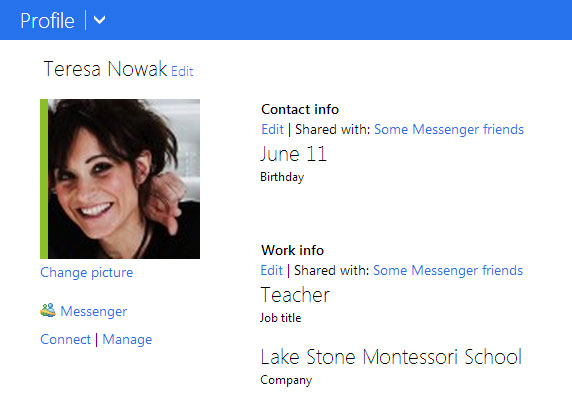
Setting up your profile
Once you’ve set up your Microsoft account and become familiar with the toolbar, you might want to customize and add information to your personal profile.
As you learned in Lesson 1, your profile is a personal information page linked to your Microsoft account. Your profile can contain:
- Basic information, like your birth date and gender
- Additional contact information
- Personal information about your work, social life, and education
- Connections to social networking sites like Facebook
Filling in your profile is completely optional, and it’s advisable not to add too much detailed personal information. However, filling in a little information can be useful in some situations. It’s all about deciding how much you want to share.
To learn more about what personal information it’s safe to include in your profile, check out our lesson on Smart Social Networking and Communication Tips.
- To access and edit your profile, click the profile icon in the upper-right corner, then select Edit profile from the drop-down menu.
To add a profile picture:
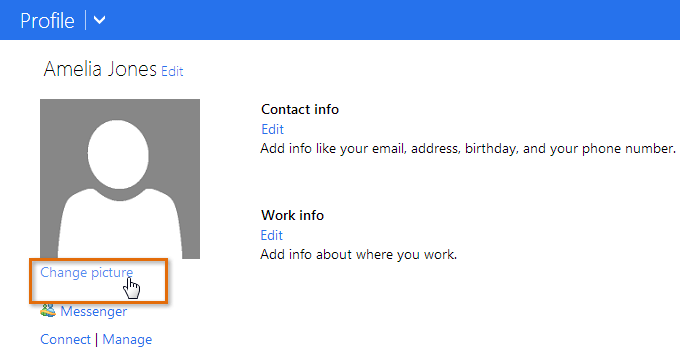
- Navigate to your profile page, then locate and select Change picture.
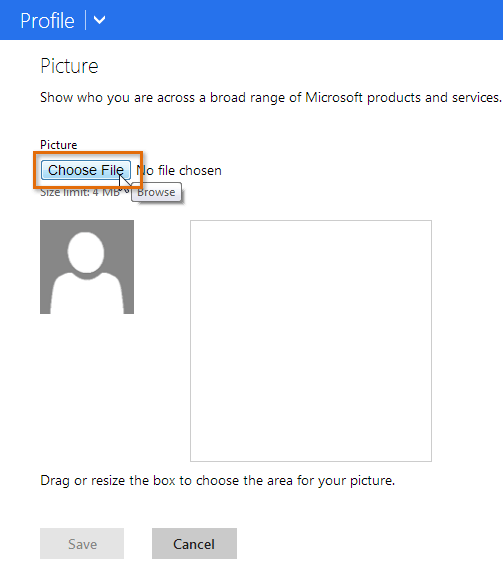
- The profile picture page will appear. Click the Choose File button.
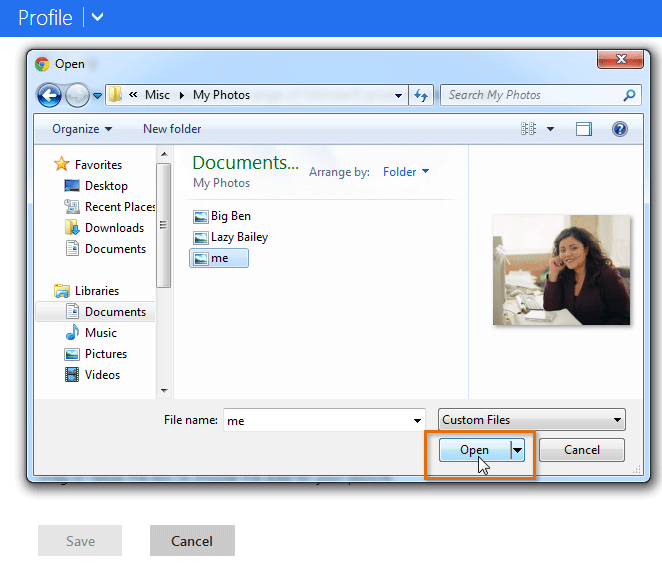
- A dialog box will appear. Locate and select the desired picture, then click Open.
- Your picture will appear. If you want, you can drag and resize the box to crop your image. As you crop your picture, a preview of the cropped image will appear to the left.
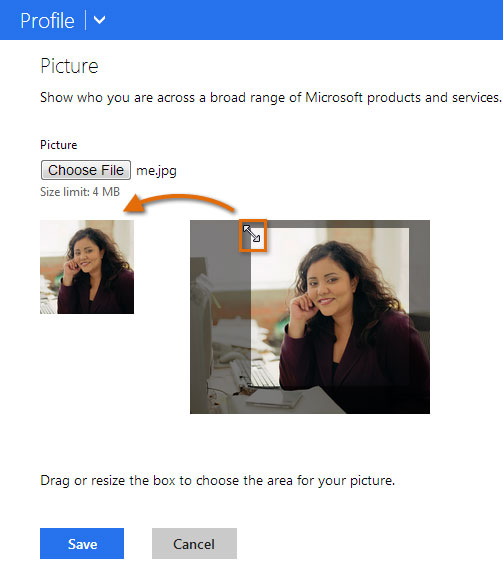
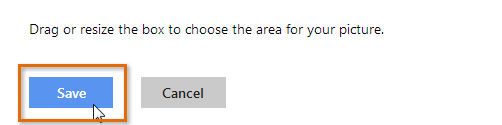
- When you are satisfied with the cropped picture, click Save. Your profile picture will be saved.
Privacy and Security Settings
Introduction
If you’re concerned about how much personal information you share online, you should review and modify your Microsoft account privacy and security settings.
In this lesson, you’ll learn how to modify your privacy settings. You’ll also learn how to stop receiving Microsoft marketing emails and how to keep your account safe by modifying your security settings.
Changing your privacy settings
You can access your privacy options from the privacy settings page. These settings let you control exactly how much content you share and who you share it with.
To access the privacy settings page:
- Navigate to your profile page.
- Locate and select the link next to Shared with: (the text of this link will vary based on your current privacy settings).
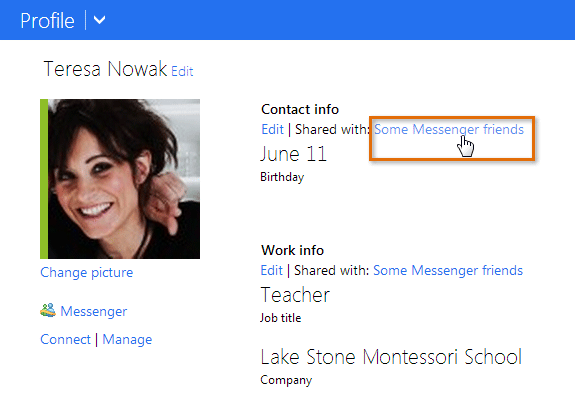
- The privacy settings page will appear. On the next page of this lesson, you’ll learn how to modify these settings.
Understanding privacy settings
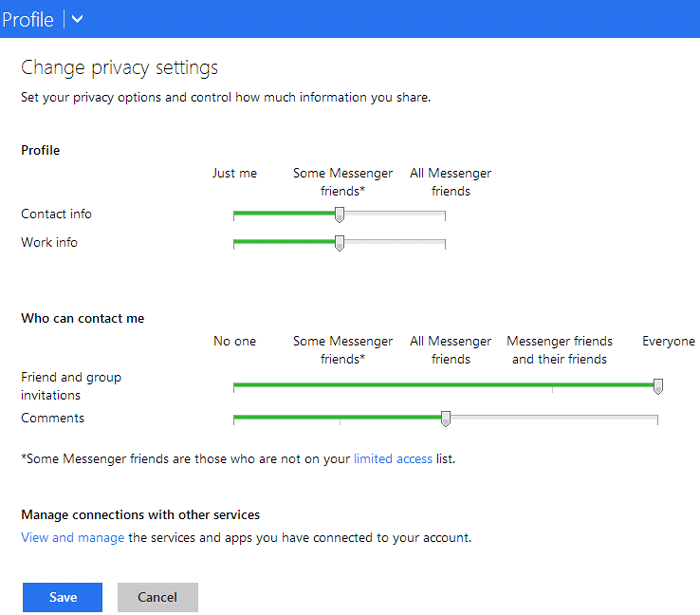
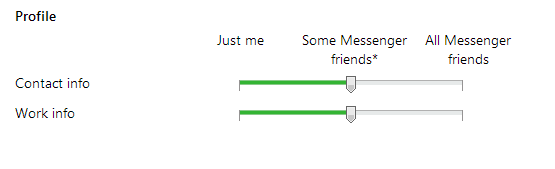
The privacy settings page is divided into groups of privacy settings, each of which can be adjusted by a green slider. Each notch on the slider represents a specific level of privacy. These levels are:
- Just me, which is totally private
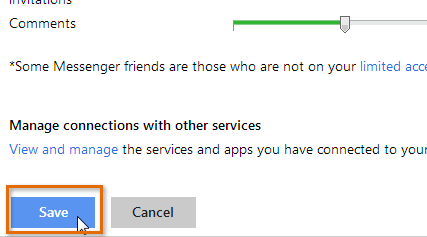
- Some Messenger friends, which shows your content to all of your Messenger friends except for those who you’ve marked with limited access
- All Messenger friends
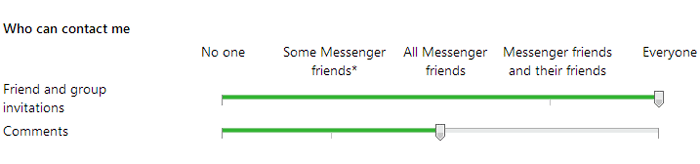
- Messenger friends and their friends, which shows your content to your friends and all of their friends, whom you may or may not know
- Everyone, which means your content is public
Privacy settings:
There are two main groups of privacy settings to modify:
- Profile: Here, you can control who sees the contact and personal information you post on your profile.
- Who can contact me: Here, you can limit the people who are able to send you Messenger friend invitations. Adjusting this setting can help you cut down on spam friend requests, but it can also make it more difficult for acquaintances and real-life friends to find you on Messenger. You can also control who is able to leave comments on your visible posts and shares.
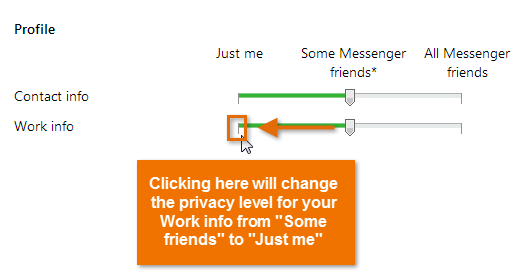
To modify privacy settings:
- Locate a setting you wish to change, then click the appropriate notch on its slider.
- When you are satisfied with your privacy settings, scroll to the bottom of the page and click Save. Your new settings will be applied.
Additional privacy settings
While most of the Microsoft account privacy settings are located on the privacy settings page, a few additional options can be found on the account settings page.
To opt out of Microsoft marketing:
If you prefer not to receive promotional emails from Microsoft, you will need to opt out of Microsoft marketing.
- Click the profile icon, then select Account settings from the drop-down menu.
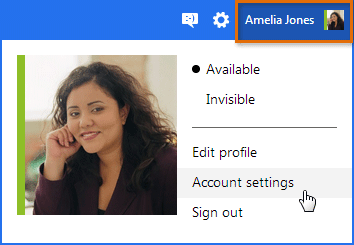
- The account settings page will appear.
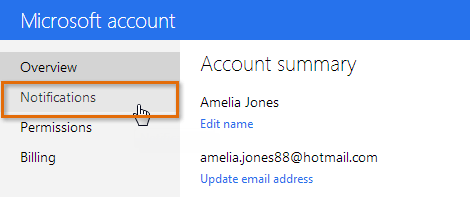
- Locate and select Notifications in the left-navigation menu.
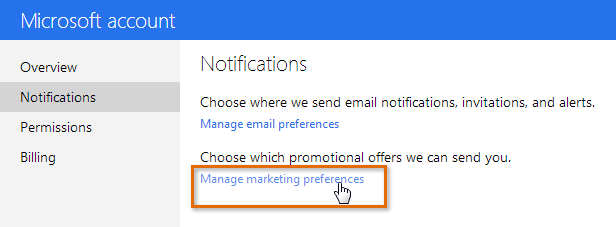
- The Notifications page will appear. Locate and select Manage marketing preferences.
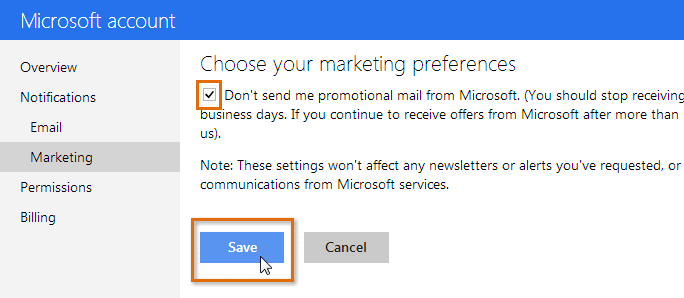
- The marketing preference page will appear. Check the check box to unsubscribe from promotional emails.
- Click Save. Your marketing preferences will be changed.
To manage your linked accounts:
If you have chosen to link your Microsoft account with some of your other online accounts, such as Facebook, Google, or LinkedIn, you may want to modify how much information Microsoft can access from those accounts. You can also choose to remove a linked account completely.
- Click the profile icon, then select Account settings from the drop-down menu. The account settings page will appear.
- Locate and select Permissions in the left-navigation menu.
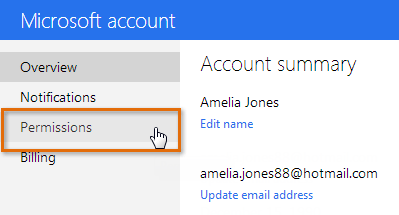
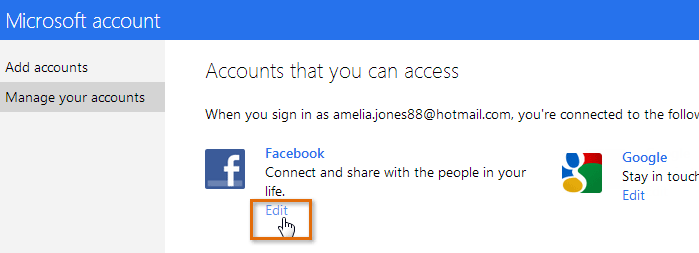
- The Permissions page will appear, which displays any accounts you have linked to your Microsoft account.
- Click Edit to modify your settings for any specific account. In this example, we’ll modify our Facebook account settings.
- The account permissions page will appear. This page will vary depending on which account you select. You can either:
- Click the check boxes to set specific account permissions (if applicable)
- Locate and select Remove this connection completely to remove the connection from your Microsoft account
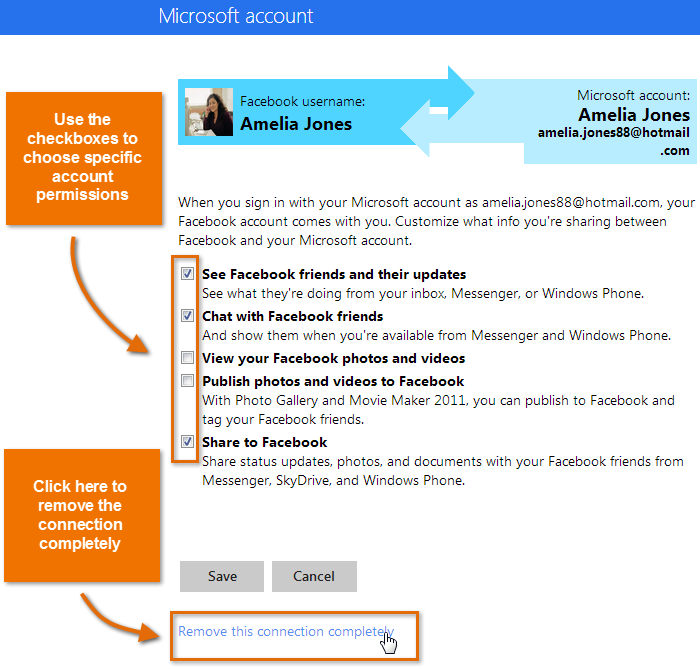
- Once you are satisfied with the changes, click Save. Your linked account permissions will be saved.
Account security
In addition to privacy, you should consider account security. A secure account is one that is difficult for someone else to access but easy for you to access, even if you’ve lost your password. You can keep your account secure by changing your password frequently and setting up password recovery information.
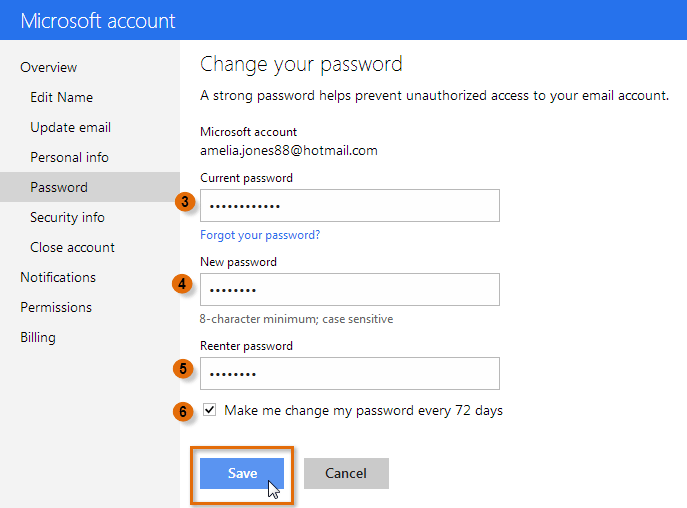
To change your password:
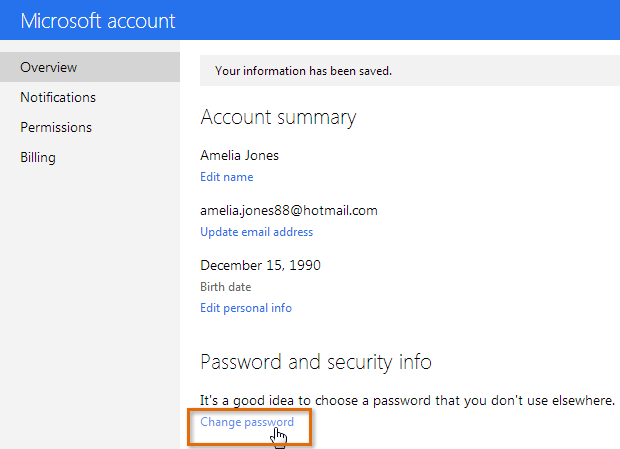
- Click the profile icon, then select Account settings from the drop-down menu. The account settings page will appear.
- Locate the Password and security info group, then select Change password.
- Enter your current password.
- Enter your new password.
- Type your new password again.
- Optional: You can check the box next to Make me change my password every 72 days. Microsoft will remind you when it is time to change your password.
- Click Save. Your password will be changed.
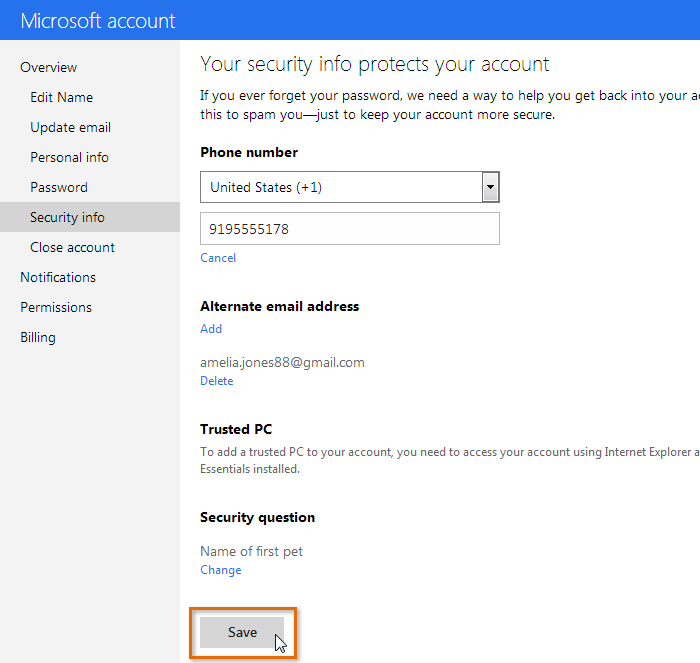
Setting password recovery information
If you lose access to your Microsoft account, having password recovery information can help you sign in again. When you signed up for your Microsoft account, you were required to provide a phone number or an alternate email address and answer a security question. Because it’s possible to lose access to your alternate email address or forget your security question, we recommend setting additional password recovery information as well.
- To set additional password recovery information, locate and select Edit security info from the account settings page, then select the various recovery methods you wish to add. Click Save to apply your changes.
Locked Out of Your Microsoft Account?
Locked out of your Microsoft account?
There may be times when you go to sign in to your Microsoft account, Skype, OneDrive, or other Microsoft service and can’t seem to remember the password you used when creating your account. Luckily, Microsoft makes it easy to recover your account information.
However, you will need to know either the email address or phone number you used when signing up for the account.
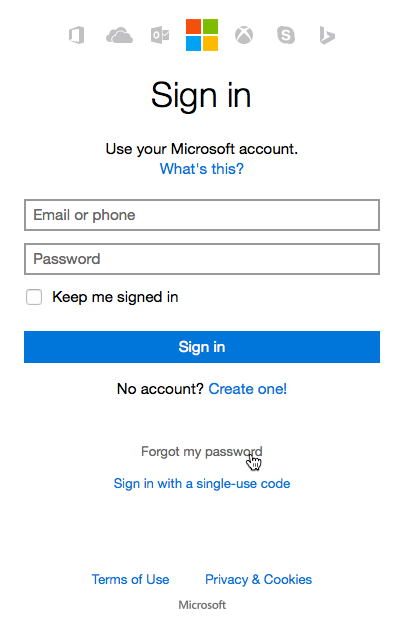
To recover your account information:
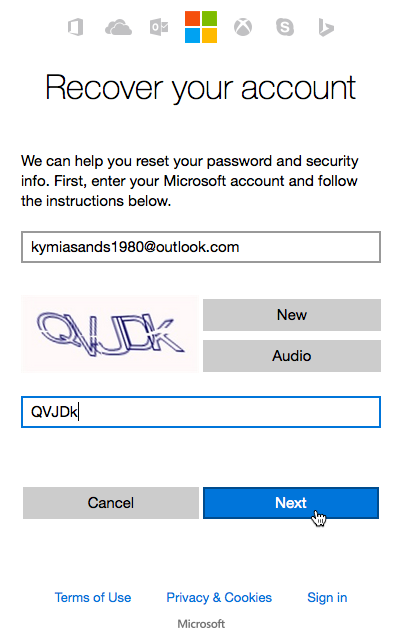
- Go to the Microsoft sign in page and click Forgot my password below the sign-in fields.
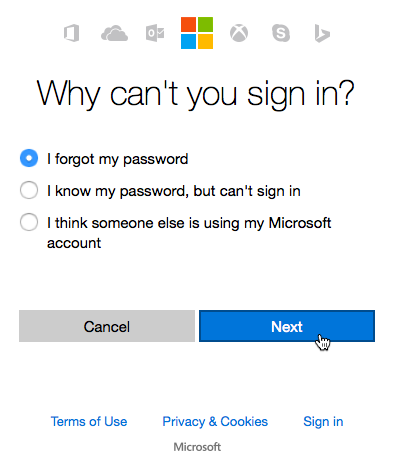
- Select I forgot my password, then click Next.
- Enter your email address or phone number, then enter the Captcha code and click Next.
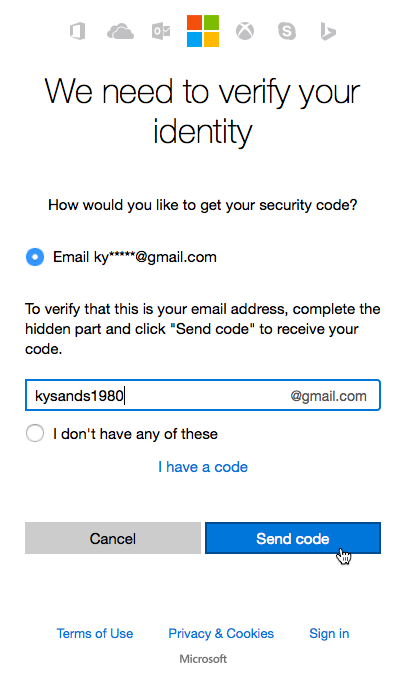
- Choose whether you want to have a security code sent to your alternate email or whether you’d prefer to provide an email address to have the code sent to, then click Send code.
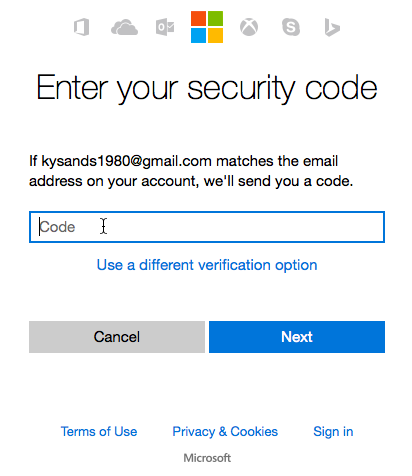
- Once you’ve received the code, type it and click Next.
- Type a new password in the top field, then retype it in the second field. Click Next.
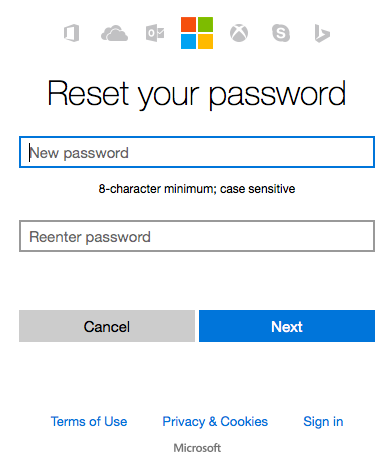
- Your password will be changed.
If you’ve tried these methods and still can’t get in to your account, we’ve found this page to be the most helpful in getting Microsoft issues resolved.