So you have a new computer and you’re ready to set it up. This may seem like an overwhelming and complicated task, but it’s actually a lot easier than you might think! Most computers are set up in a similar way, so it doesn’t matter what brand of computer you have.
If you’re setting up a new computer that’s still in the box, you’ll probably find a how-to guide that includes step-by-step details. Even if it didn’t include instructions, you can still set up the computer in a few easy steps. We’ll take you through the different steps needed to set up a typical computer.
Watch the video below to learn how to set up a desktop computer.
If you have a laptop, setup should be easy: Just open it and press the power button. If the battery isn’t charged, you’ll need to plug in the AC adapter. You can continue using the laptop while it charges.

If your laptop has any peripherals, like external speakers, you may want to read the instructions below. Laptops and desktops generally use the same types of connections, so the same steps will still apply.
Unpack the monitor and computer case from the box. Remove any plastic covering or protective tape. Place the monitor and computer case on a desk or work area.

Be sure to place your computer case in an area that is well ventilated and has good airflow. This will help to prevent the computer from overheating.
Locate the monitor cable. There are several types of monitor cables, so the one for your computer may not look like the one in the image below.

If you’re having trouble finding your monitor cable, refer to the instruction manual for your computer. (If you have an all-in-one computer that’s built into the monitor, you can skip to Step 4).
Connect one end of the cable to the monitor port on the back of the computer case and the other end to the monitor.

Many computer cables will only fit a specific way. If the cable doesn’t fit, don’t force it or you might damage the connectors. Make sure the plug aligns with the port, then connect it.
Unpack the keyboard and determine whether it uses a USB (rectangular) connector or a PS/2 (round) connector. If it uses a USB connector, plug it into any of the USB ports on the back of the computer. If it uses a PS/2 connector, plug it into the purple keyboard port on the back of the computer.

Unpack the mouse and determine whether it uses a USB or PS/2 connector. If it uses a USB connector, plug it into any of the USB ports on the back of the computer. If it uses a PS/2 connector, plug it into the green mouse port on the back of the computer.
If your keyboard has a USB port, you can connect your mouse to the keyboard instead of connecting it directly to your computer.
If you have a wireless mouse or keyboard, you may need to connect a Bluetooth dongle (USB adapter) to your computer. However, many computers have built-in Bluetooth, so an adapter may not be necessary.
If you have external speakers or headphones, you can connect them to your computer’s audio port (either on the front or back of the computer case). Many computers have color-coded ports. Speakers or headphones connect to the green port, and microphones connect to the pink port. The blue port is the line in, which can be used with other types of devices.

Some speakers, headphones, and microphones have USB connectors instead of the usual audio plug. These can be connected to any USB port. In addition, many computers have speakers or microphones built into the monitor.
Locate the two power supply cables that came with your computer. Plug the first power supply cable into the back of the computer case and then into a surge protector. Then, using the other cable, connect the monitor to the surge protector.

You can also use an uninterruptable power supply (UPS), which acts as a surge protector and provides temporary power if there is a power outage.
Finally, plug the surge protector into a wall outlet. You may also need to turn on the surge protector if it has a power switch.

If you don’t have a surge protector, you can plug the computer directly into the wall. However, this is not recommended because electrical surges can damage your computer.
If you have a printer, scanner, webcam, or other peripherals, you can connect them at this point. Many peripherals are plug-and-play, which means they will be recognized by your computer as soon as they are plugged in.

Other peripherals may include software that needs to be installed before you can begin using them. Use the instructions included with the device to install it if necessary.
Generally, peripherals are optional, and you can add new ones at any time; you don’t have to add all peripherals during the initial setup of your computer.
A computer is more than just another household appliance. The vast amount of information and possibilities can be overwhelming. But you can accomplish a lot with a computer, and using one can be a good experience. Let’s walk through getting started with your first computer.
Turning on a computer for the first time can be different from one computer to the next. Your experience could be different from this lesson. It’s OK to ask someone for help.
The very first step is to turn on the computer. Make sure all the cables are plugged in correctly, and locate the power button. It’s in a different place on every computer, but it will have the universal power button symbol (shown below).

Once turned on, your computer takes time before it’s ready to use. You may see a few different displays flash on the screen. This process is called booting up, and it can take anywhere from 15 seconds to several minutes.
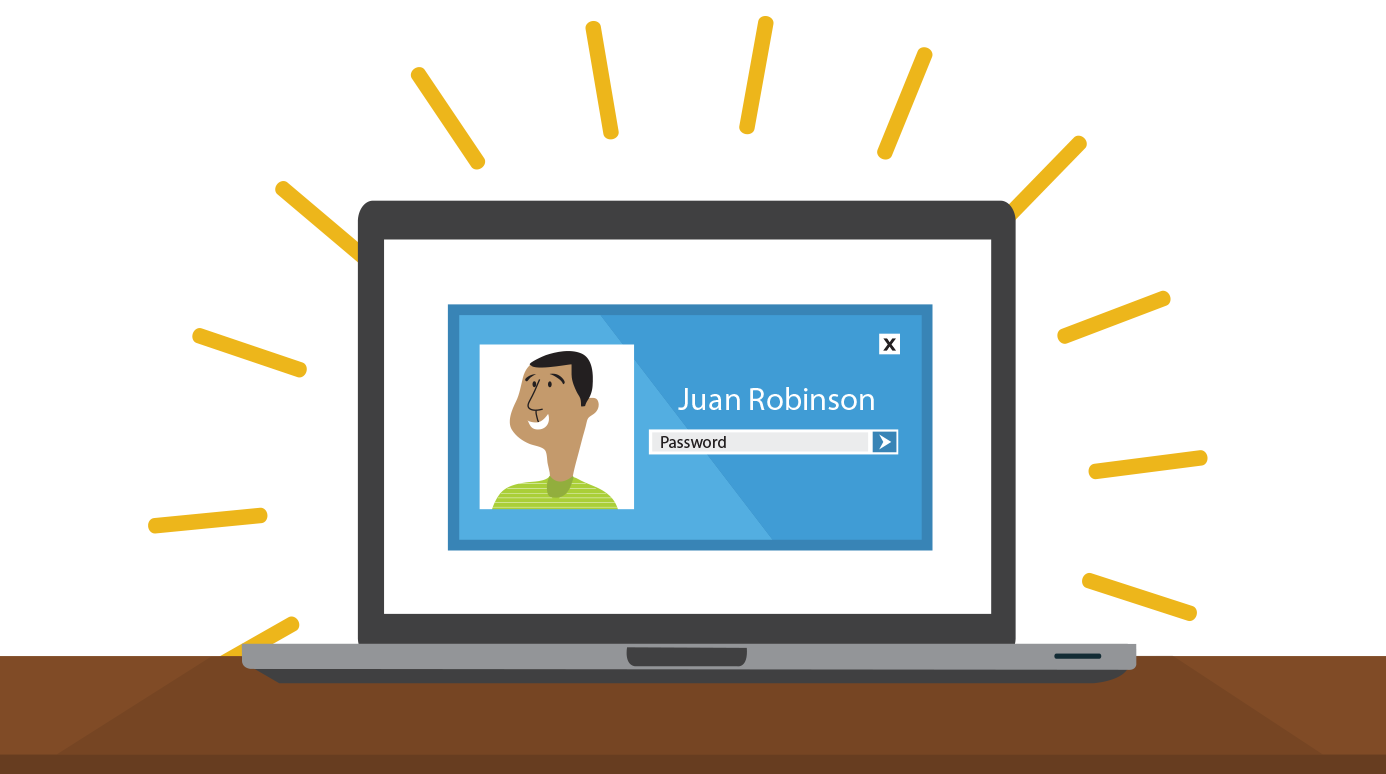
Once the computer has booted up, it may be ready to use, or it may require you to log in. This means identifying yourself by typing your user name or selecting your profile, then typing your password. If you’ve never logged in to your computer before, you may need to create an account.
You interact with a computer mainly by using the keyboard and mouse, or a trackpad on laptops. Learning to use these devices is essential to learning to use a computer. Most people find it comfortable to place the keyboard on the desk directly in front of them and the mouse to one side of the keyboard.
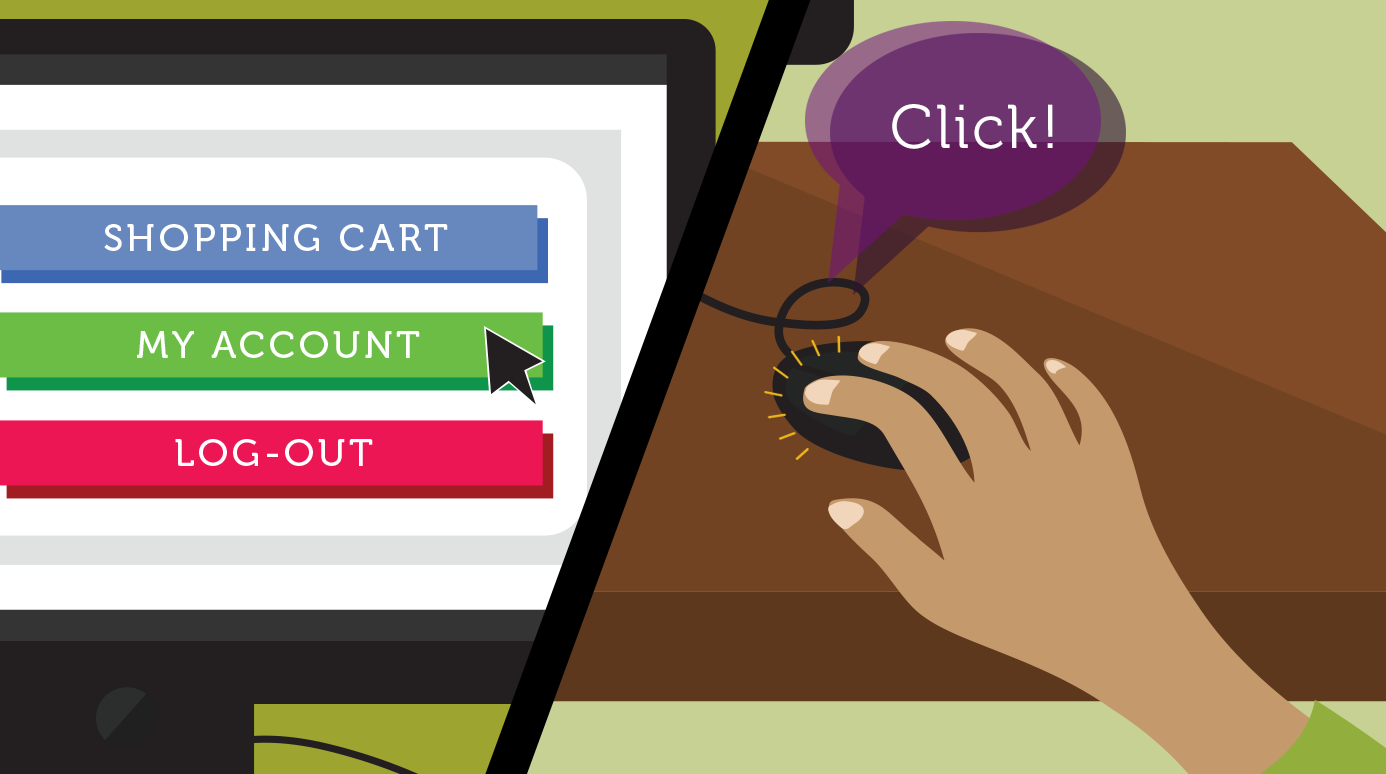
The mouse controls the pointer on the screen. Whenever you move the mouse across the desk, the pointer will move in a similar manner. A mouse usually has two buttons, which are referred to as the left button and the right button. You will often interact with the computer by moving the mouse pointer over something on the computer screen, then clicking one of the buttons.
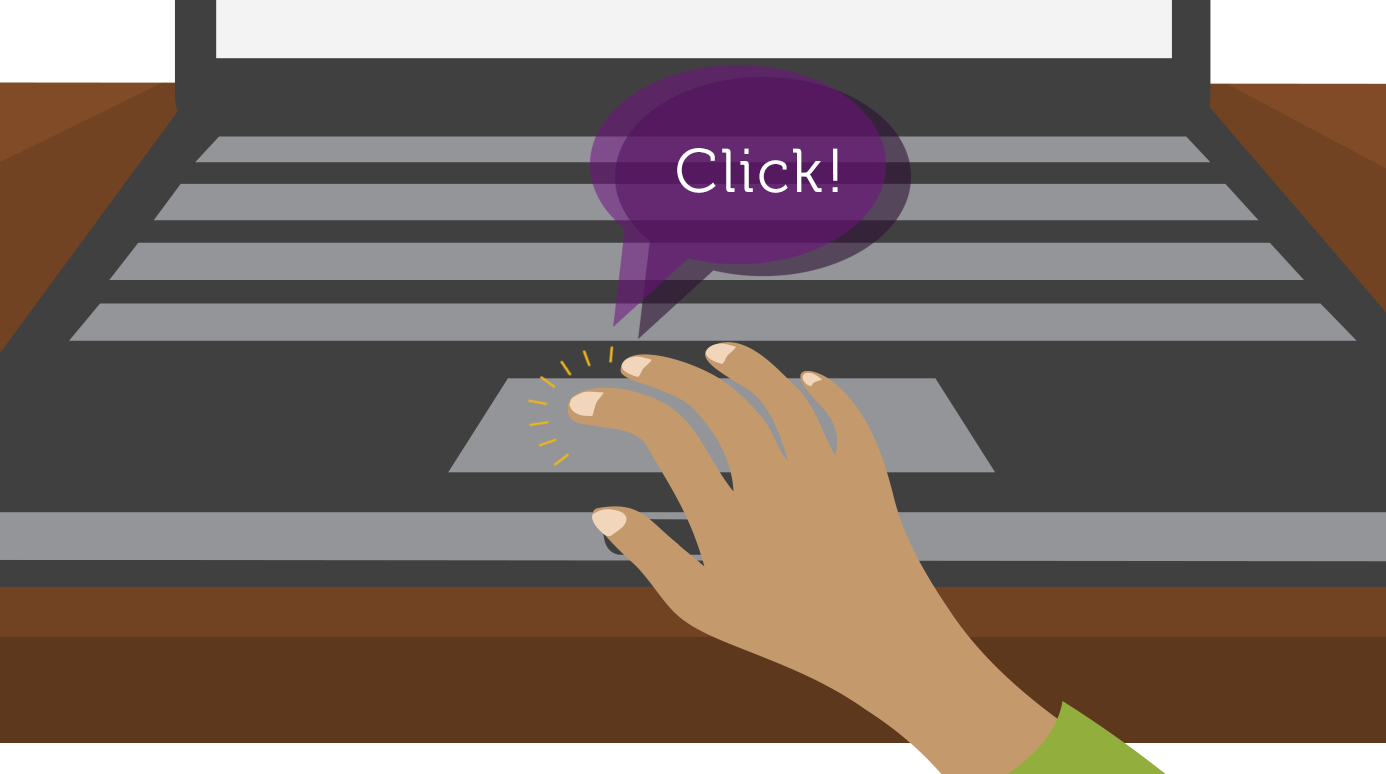
On laptops, you can use the trackpad, located below the keyboard, instead of a mouse. Simply drag your finger across the trackpad to move the pointer on the screen. Some trackpads do not have buttons, so you’ll either press or tap the trackpad to click.
The keyboard allows you to type letters, numbers, and words into the computer. Whenever you see a flashing vertical line—called the cursor—you can start typing.

Note that the mouse pointer is also called a cursor, but it is shaped differently. The keyboard cursor is also called the insertion point.
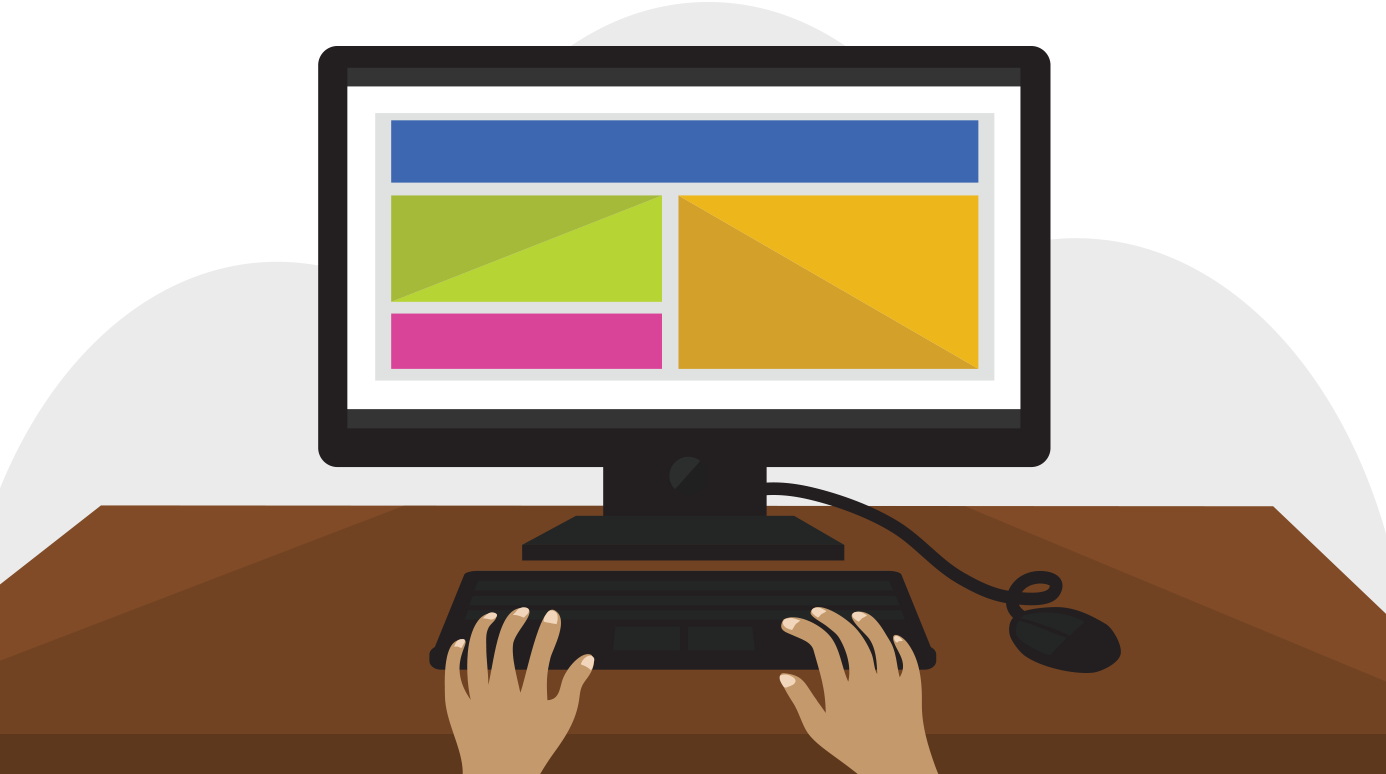
The main screen you’ll start from is the desktop. This is sort of like a main menu or a table of contents. From here, you can access the programs and features you need to use your computer.
Icons are used to represent the different files, applications, and commands on your computer. An icon is a small image that’s intended to give you an idea at a glance of what it represents, like a logo. Double-clicking an icon on the desktop will open that application or file.
A button is a command that performs a specific function within an application. The most commonly used commands in a program will be represented by buttons.
Menus are organized collections of commands and shortcuts. Click a menu to open it and display the commands and shortcuts within. Then click an item in the menu to execute it.

When you open an application or folder, it is displayed in its own window. A window is a contained area—like a picture within a picture—with its own menus and buttons specific to that program. You can rearrange multiple windows on the desktop and switch between them.
Now that you’ve learned how to turn on your computer and interact with it, take time to become familiar with these skills. When you’re ready, check out our other topics to learn more. You can build on this foundation and learn how to do whatever you want with your computer.
Learn more about:
Other topics:
Other resources:
Dust isn’t just unattractive—it can potentially damage or even destroy parts of your computer. Cleaning your computer regularly will help you keep it working properly and avoid expensive repairs.
Watch the video below to learn how to keep a computer clean.
Looking for the old version of this video? You can still view it here.
Dust, food, liquid, and other particles can get stuck underneath the keys on your keyboard, which can prevent it from working properly. The basic cleaning tips below can help keep your keyboard clean.


If you spill liquid on the keyboard, quickly shut down the computer and disconnect the keyboard. Then turn the keyboard upside down and allow the liquid to drain.
If the liquid is sticky, you will need to hold the keyboard on its side under running water to rinse away the sticky liquid. Then turn the keyboard upside down to drain for two days before reconnecting it. Please note that the keyboard may not be fixable at this point, but the method above is probably the best option.
To prevent this situation altogether, we recommend keeping drinks away from the computer area.
There are two main mouse types: optical and mechanical. Each is cleaned in basically the same way, although the mechanical mouse requires a bit more work.


The basic cleaning tips below will help keep your mouse clean:
If you just want to give the mouse a quick cleaning, place it on a clean sheet of paper and move the mouse back and forth. Some of the dust and particles should rub off onto the paper.
Dirt, fingerprints, and dust can make your computer screen difficult to read; however, it’s easy to clean your screen when needed. There are monitor-cleaning kits you can buy, but they may damage your monitor if they’re designed for a different type of monitor. For example, a monitor cleaner that is designed for glass screens may not work with some non-glass LCD screens. The safest method is simply to use a soft clean cloth moistened with water.

Do not use glass cleaner to clean a monitor. Many screens have anti-glare coatings that can be damaged by glass cleaner.
Do not spray any liquids directly onto the screen. The liquid could leak into the monitor and damage the internal components.
From time to time, you should clean your computer case and the sides and back of the monitor to avoid a buildup of dust and dirt. Here are a few tips you can use when cleaning these surfaces.


Don’t restrict airflow around your computer. A computer can generate a lot of heat, so the casing has fans that keep it from overheating. Avoid stacking papers, books, and other items around your computer.

Many computer desks have an enclosed compartment for the computer case. If you have this type of desk, you may want to position the case so it is not against the back side of the desk. If the compartment has a door, you may want to leave it open to improve airflow.